
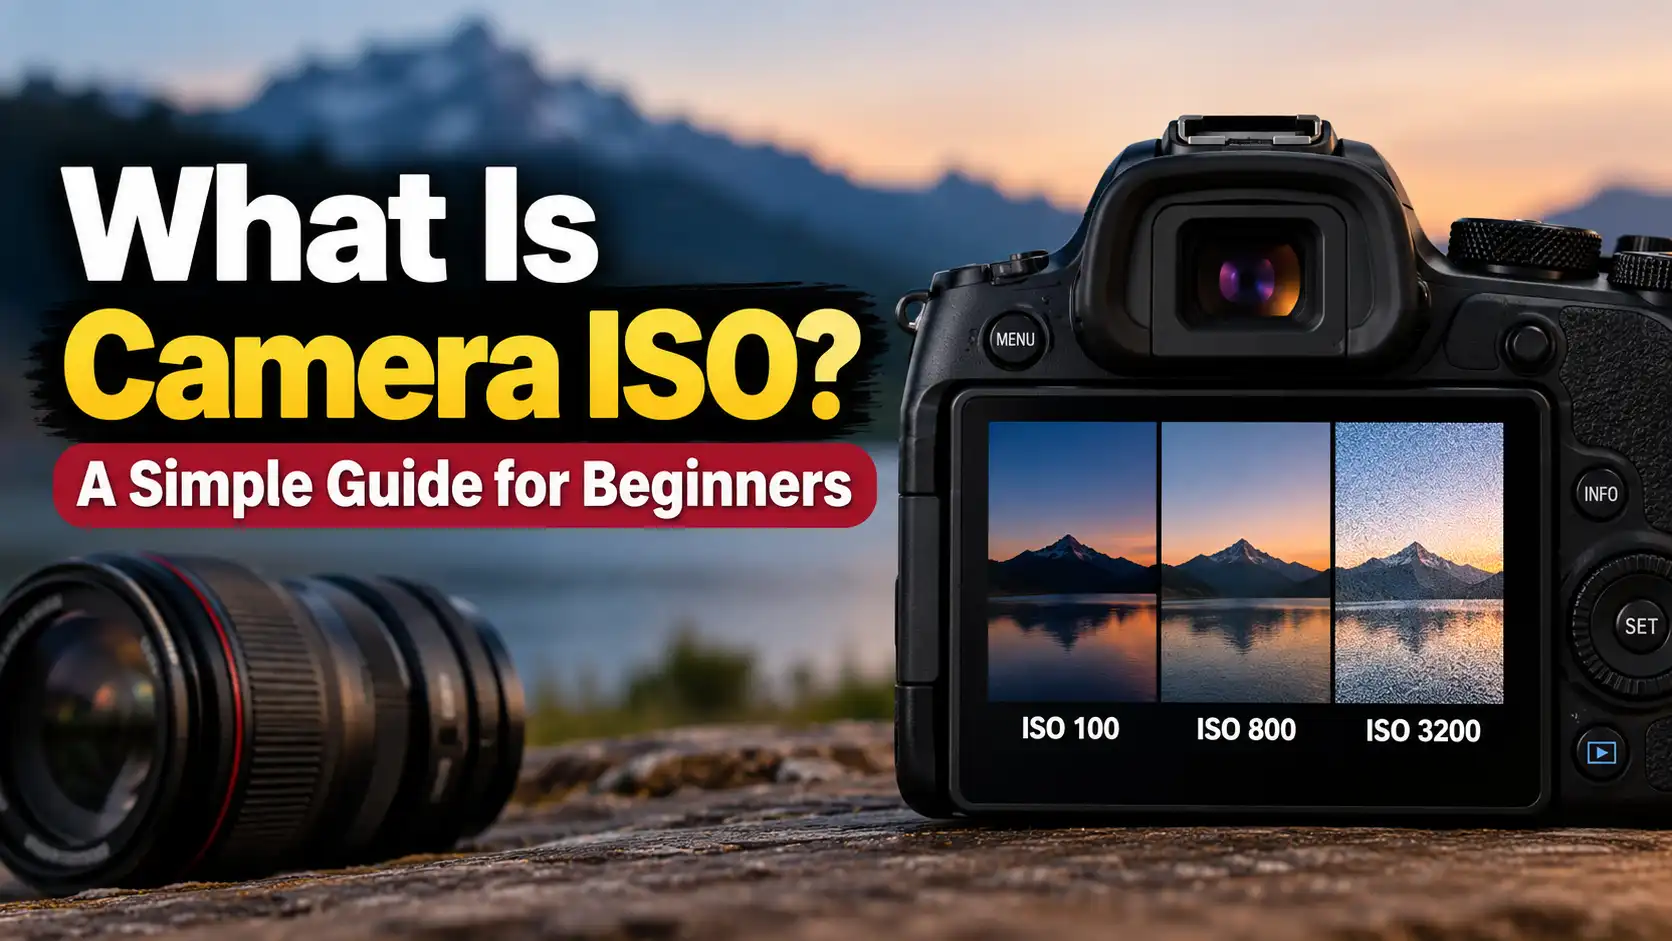
Do your photos look too dark when you shoot indoors? Or do they look grainy, fuzzy, and soft? Many new photographers face this exact issue. Getting the right brightness can feel tricky when you first pick up a dedicated body or an advanced phone.
Understanding what is camera ISO helps you solve this problem right away. ISO is one of the three core pillars of photography, along with shutter speed and aperture. When you learn how it works, you take full control of your images.
In this guide, I will break down ISO in plain, simple terms. You will learn what ISO settings do, how ISO affects your image quality, and how to pick the best camera for your budget.
Quick Answer
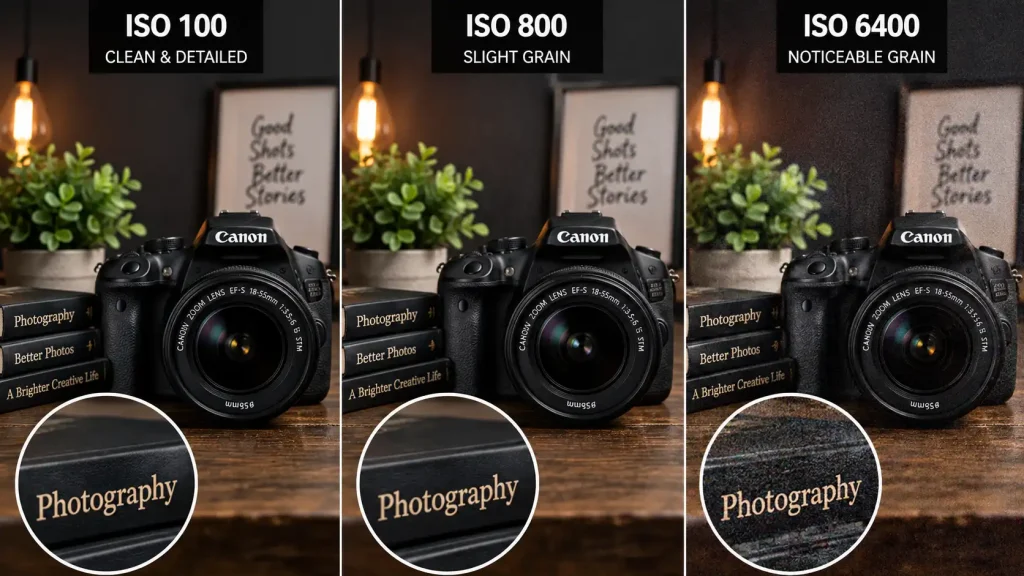
What is camera ISO? Camera ISO is a setting that brightens or darkens your photo. A low ISO number, like 100, gives clean, sharp images in bright light. A high ISO number, like 3200 or 6400, brightens dark scenes. However, very high ISO values add digital noise and grain to your shot.
Also See: Best Manual Focus Camera Android: 5 Top Picks
What Is Camera ISO Used For?
Every digital camera has an image sensor. The sensor gathers light coming through your lens.
So, what is camera ISO used for in everyday shooting? In simple terms, ISO controls how much your camera amplifies the light signal that hits its sensor. Think of ISO like the volume knob on a stereo speaker. When the sound is quiet, you turn up the volume knob to hear it better.
In the same way, when a room is dim, you raise your ISO. The camera amplifies the light data it captured. This makes your photo look brighter without forcing you to change your shutter speed or widen your lens opening.
ISO Camera Full Form and History
What does the name actually stand for?
The ISO camera full form comes from the International Organization for Standardization, which sets worldwide technical standards.
Back in the film era, film rolls had ratings known as ASA (American Standards Association). Film had a fixed chemical sensitivity to light. You bought a roll of 100-speed film for bright sunny days. You bought 800-speed film for sports or late afternoon shoots.
The industry eventually standardized these ratings under the name ISO. In modern digital cameras, you no longer need to swap out a physical film roll. You simply turn a dial to change your value on the fly.
What Is Camera ISO for Photography and the Exposure Triangle?
To master your camera, you need to know how ISO fits into the exposure triangle. The exposure triangle consists of three settings:
-
Aperture: The physical opening inside your lens that lets light in.
-
Shutter Speed: The length of time the camera shutter stays open.
-
ISO: The digital boost applied to the captured light signal.
Is ISO Exposure?
Many beginners ask: is ISO exposure? Technically, no.
True exposure is the physical amount of light that reaches your camera sensor. Only aperture and shutter speed control true exposure.
When you study ISO vs exposure, remember that ISO does not bring more physical light into the camera body. Instead, it takes the light you already collected and boosts the signal. That is why high ISO can brighten a dark scene, but it cannot create new light details from thin air.
Aperture in Mobile Camera vs Dedicated Camera ISO
Today, many creators shoot on smartphones alongside dedicated cameras. You might wonder how aperture in mobile camera designs relates to ISO.
Most smartphones have fixed apertures. Their lens openings cannot physically open or close. Because of this design, phone software relies heavily on ISO and computational night modes to brighten dark scenes.
On a dedicated mirrorless or DSLR camera, you have total manual control over your physical aperture, your mechanical shutter, and your sensor gain.
The ISO Photography Chart: Practical Settings for Every Scene
Knowing which number to choose can feel overwhelming at first. Here is a handy ISO photography chart to help you pick the right setting quickly:
Understanding the Base ISO of Your Sensor
Every camera sensor has a native or “base” setting. On most cameras, this base level is ISO 100 or ISO 64.
Your base setting gives you:
-
The cleanest image possible
-
The widest dynamic range (the range between bright highlights and deep shadows)
-
The most accurate colors
Whenever you have enough light, keep your camera at its base ISO setting.
What Are Camera ISO Settings and How Do You Change Them?
Modern cameras give you several ways to manage your settings:
-
Manual ISO: You select the exact number using a top dial or quick menu button.
-
Auto ISO: The camera picks the lowest possible value while adjusting for your shutter speed and aperture.
-
Auto ISO with Minimum Shutter Speed: You tell the camera not to let the shutter drop below a set speed (such as 1/250s for sports) to prevent motion blur.
How to Adjust Your Setting in 4 Steps
-
Turn your camera mode dial to Manual (M) or Aperture Priority (A/Av).
-
Press the dedicated ISO button on your camera grip or open the Quick Menu (Q).
-
Rotate the main command dial until you see your target number on the LCD screen.
-
Half-press the shutter button to lock in your value and check your light meter.
Expert Tip: Set your camera to Auto ISO with a cap at ISO 6400. This gives you full creative freedom over your shutter speed and aperture without worrying about ruined shots in sudden low-light changes.
Sensor Size, Noise, and Camera Buying Decisions
When shopping for a camera, sensor size plays a major role in how well your camera handles high values. Independent testing labs like DxOMark camera sensor benchmarks show that larger sensors collect significantly more physical light than smaller sensors.
+--------------------------------------------------------+
| Full-Frame Sensor (Largest area, best low-light ISO)  |
|   +------------------------------------------------+   |
|   | APS-C Crop Sensor (Great value, good low-light)|   |
|   |   +----------------------------------------+   |   |
|   |   | Micro Four Thirds (Compact & portable) |   |   |
|   |   +----------------------------------------+   |   |
|   +------------------------------------------------+   |
+--------------------------------------------------------+
Full-Frame vs. Crop Sensor Performance
-
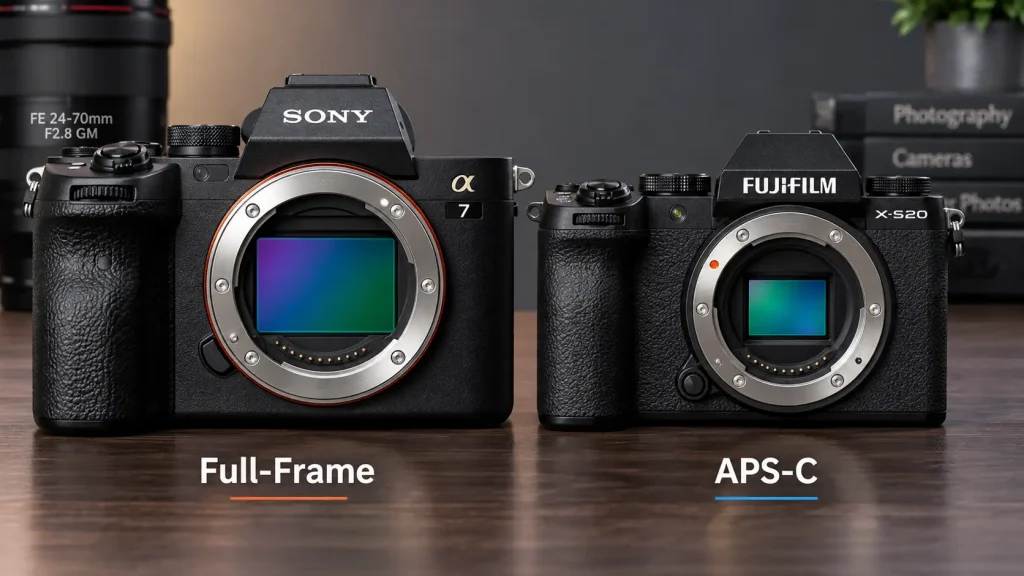
Full-Frame Cameras: These have large 35mm sensors. Because each pixel is larger, they gather more light. You can shoot at ISO 3200 or 6400 with very clean results. They cost more, but they are ideal for low-light weddings, concerts, and night street photography.
-
APS-C Cameras: These sensors are smaller and more affordable. Modern APS-C sensors produce great results up to ISO 1600 or 3200. They offer the best balance of price, weight, and performance for beginners.
-
Micro Four Thirds & 1-Inch Compacts: These cameras are small and easy to carry. However, their smaller sensors show visible grain earlier, often starting around ISO 800 or 1600.
Equipment Care, Inspection, and Warning Signs
Pushing your settings to extremes can reveal hidden flaws in your camera hardware. Here are common issues to look out for during shooting:
1. Stuck or Hot Pixels
When you shoot long exposures at high values, your sensor warms up. You might notice bright red, green, or blue dots on your screen. In most cases, this is normal thermal noise. Most brands offer a sensor pixel mapping feature in their settings menu to hide them.
2. Sensor Dust Spots
If you see dark, blurry smudges in bright parts of your image, you have dust on your sensor glass.
-
Test for dust by setting your camera to its base ISO and stopping your lens down to f/16 or f/22.
-
Take a photo of a plain white wall or clear blue sky.
-
Zoom in on the image to locate any dark spots.
3. Lens Fungus and Haze
Moisture can cause fungus to grow inside old or poorly stored lenses. Fungus scatters light and lowers image contrast, which forces you to raise your settings higher than necessary. Always store your camera and lenses in a dry place with silica gel packs.
When to Get Professional Help or a Second Opinion
While basic maintenance is safe to do at home, some hardware problems require professional tools:
-
Deep Sensor Scratches or Sticky Grime: Never scrape your sensor glass with cotton swabs, household fluids, or dry wipes. If a simple rocket air blower cannot remove sensor dust, take your body to an authorized brand service center for a wet cleaning.
-
Fixed Banding Patterns: If your files show thick horizontal or vertical color lines across every image—even at low values—your sensor readout circuit may be damaged.
-
Erratic Shutter Failure: If your photos show dark bars cutting across the frame, your mechanical shutter may be sticking. Shutter unit replacement should always be handled by an authorized technician.
Common Mistakes Camera Buyers Should Avoid
-
Buying gear based only on maximum numbers: Camera brands love to market extreme values like “ISO 102,400.” In reality, images taken at those extreme numbers are usually unusable. Focus on clean performance between 100 and 6400 instead.
-
Leaving your camera on high values on sunny days: If you forget to dial your setting back down to 100 after shooting a dark room, your outdoor shots will end up blown out and grainy.
-
Fearing noise so much that your shot gets blurry: A sharp photo with some digital grain is almost always usable. A blurry photo from a slow shutter speed goes straight to the trash. Do not hesitate to raise your setting when you need a fast shutter speed to freeze action.
-
Ignoring wide-aperture lenses: Before upgrading to an expensive camera body, consider buying a fast prime lens (such as a 50mm f/1.8). A wider aperture lets in physically more light, keeping your values low naturally.
FAQs
What is the best ISO setting for everyday photography?
For daylight shooting, ISO 100 or ISO 200 is best. It delivers maximum sharpness, vibrant colors, and zero digital grain. For changing light, Auto ISO is a reliable choice.
Does high ISO drain your camera battery faster?
The setting itself uses very little extra battery power. However, taking long night exposures or using extensive in-camera noise reduction processing can drain your battery slightly faster.
Can you fix noisy photos in editing software?
Yes. Modern photo editors like Lightroom, Capture One, and AI noise tools do a great job cleaning up luminance noise. However, heavy noise reduction can soften fine details in hair, skin, and fabric.
What is the difference between native ISO and expanded ISO?
Native values (like 100 to 25,600) are handled directly by your camera sensor hardware. Expanded values (like “Lo 50” or “Hi 51,200”) use software scaling. Expanded settings often reduce your dynamic range and clip highlights.
Why do phone photos look clean at high ISO?
Smartphones use computational photography. The phone captures multiple shots in a split second and blends them together using advanced image chips. This removes noise while keeping the file bright.
Conclusion
Understanding what is camera ISO takes the mystery out of digital photography. It is simply a helpful tool that brightens your image when the sun goes down or when you step indoors. Keep your setting at its base level whenever you have plenty of sunshine, and raise it with confidence whenever you need to freeze fast motion in dim rooms.
Take your camera out today, switch over to Aperture Priority or Manual mode, and take three test shots at ISO 100, 1600, and 6400. Seeing the differences on your computer screen is the fastest way to master your gear and take better pictures every time.

2 thoughts on “What Is Camera ISO? A Simple Guide for Beginners”