
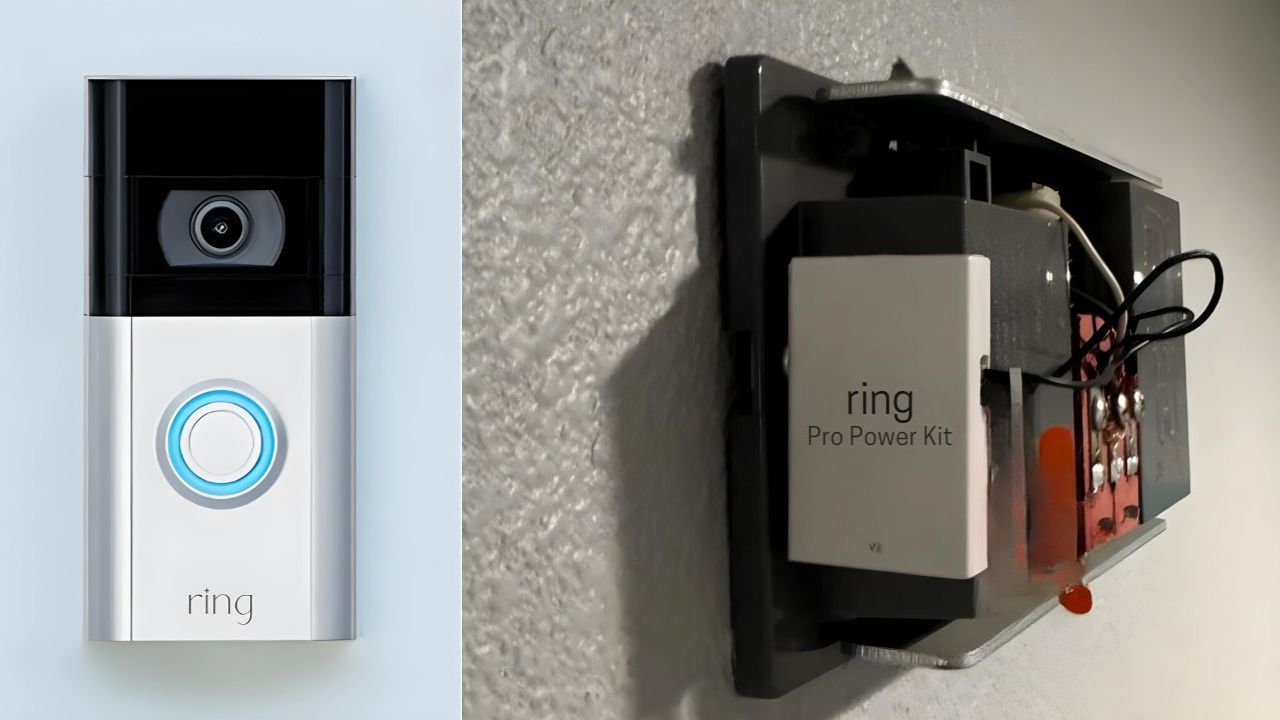
To connect a Ring camera in the United States, install the Ring app, sign in or create a Ring account, add the camera from Set Up a Device, scan the device’s QR code or MAC ID, and connect it to your home Wi-Fi network. Keep the camera near your router during setup, and make sure its battery is charged or its power adapter is connected.
Introduction
A Ring camera must be connected to both the Ring mobile app and a compatible Wi-Fi network before you can view live video, receive motion alerts, or change camera settings. The exact setup screens can vary by Ring model, including Stick Up Cam, Indoor Cam, Outdoor Cam, Floodlight Cam, and Spotlight Cam.
This guide explains how to connect a new or previously configured Ring camera using an Android phone or iPhone in the United States. It also covers connection problems, changing Wi-Fi networks, shared access, and what to do if the camera is offline.

Source: Bing
Before You Connect Your Ring Camera
Prepare the camera, phone, account, and network before starting setup. Most failed installations happen because the camera has insufficient power, the phone is connected to the wrong network, or the camera is too far from the router.
You will need:
- A Ring camera with a charged battery or reliable power connection
- The Ring app installed from the Apple App Store or Google Play
- A Ring account, or an email address and phone number for creating one
- Your home Wi-Fi name and password
- A smartphone or tablet with Bluetooth enabled
- A stable internet connection
- The camera’s QR code or MAC ID, usually printed on the device, packaging, or setup label
For a wired model, connect the included power adapter before beginning. For a battery-powered model, charge the battery first. If you are wiring a Ring camera or doorbell directly into household electrical wiring, turn off power at the circuit breaker and follow Ring’s installation instructions. If you are uncertain about electrical work, use a qualified electrician.
Check your Wi-Fi network
Ring cameras connect to Wi-Fi through the Ring app. Your camera’s supported Wi-Fi bands depend on its model. Some Ring devices use 2.4 GHz networks, while others support both 2.4 GHz and 5 GHz. Check the model-specific documentation if the app does not show your network or setup repeatedly fails.
During initial setup:
- Place the camera close to your Wi-Fi router.
- Connect your phone to the home Wi-Fi network you want the camera to use.
- temporarily disable a VPN if one is active.
- Keep mobile data available in case the app needs to switch connections during setup.
- Avoid using a guest network unless you understand its device-isolation settings.
A camera can appear connected during setup but still perform poorly if it is installed where the Wi-Fi signal is weak. Complete the initial connection near the router, then test the camera from its intended location.

Source: Bing
How to Connect a New Ring Camera in the Ring App
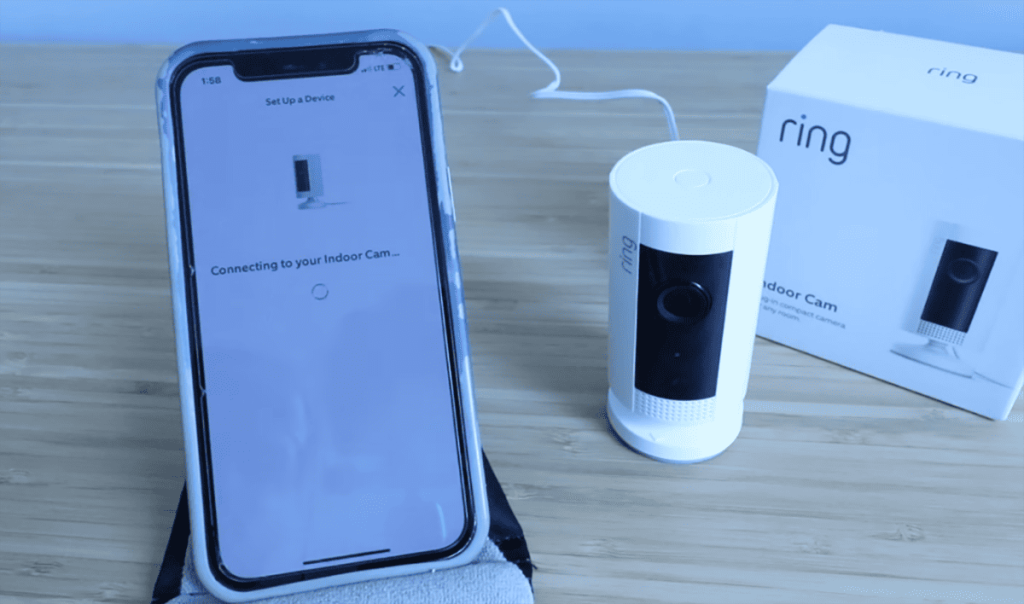
The standard setup process is completed in the Ring app. The app guides you through identifying the camera, connecting to it temporarily, and transferring your Wi-Fi credentials.
1. Install and open the Ring app
Download the official Ring app for your iPhone or Android device. Open the app and select Create Account if you do not already have one. If you have an account, choose Log In.
Use the same Ring account that should control the camera. If another household member will manage the device, you can invite that person later as a Shared User rather than creating duplicate device setups.
2. Start device setup
After signing in:
- Open the Ring app.
- Tap the menu button, usually shown as three lines.
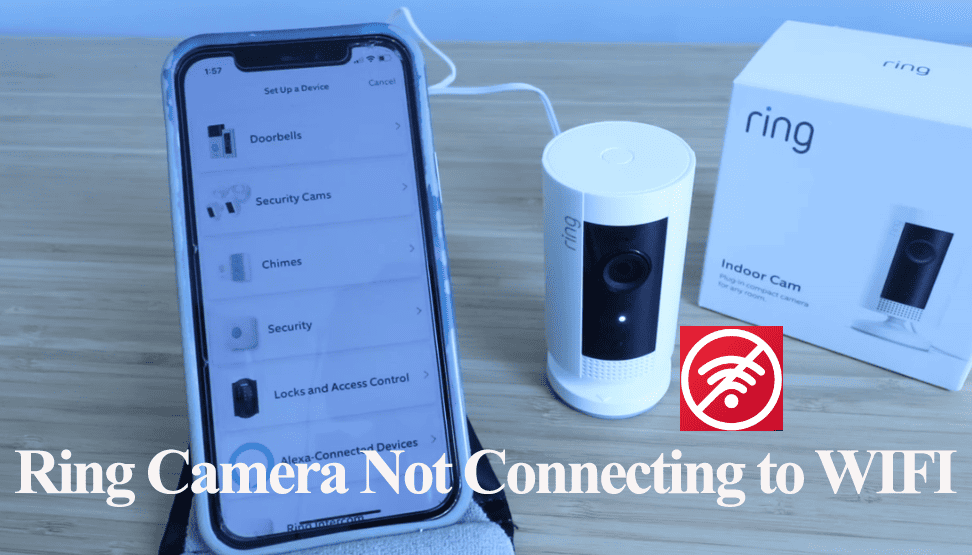
- Select Set Up a Device.
- Choose Security Cameras.
- Select the camera type or follow the prompts to identify the model.
The menu names may differ slightly by app version or device type. Choose the closest matching camera category rather than selecting a doorbell option for a security camera.
3. Scan the QR code or enter the MAC ID
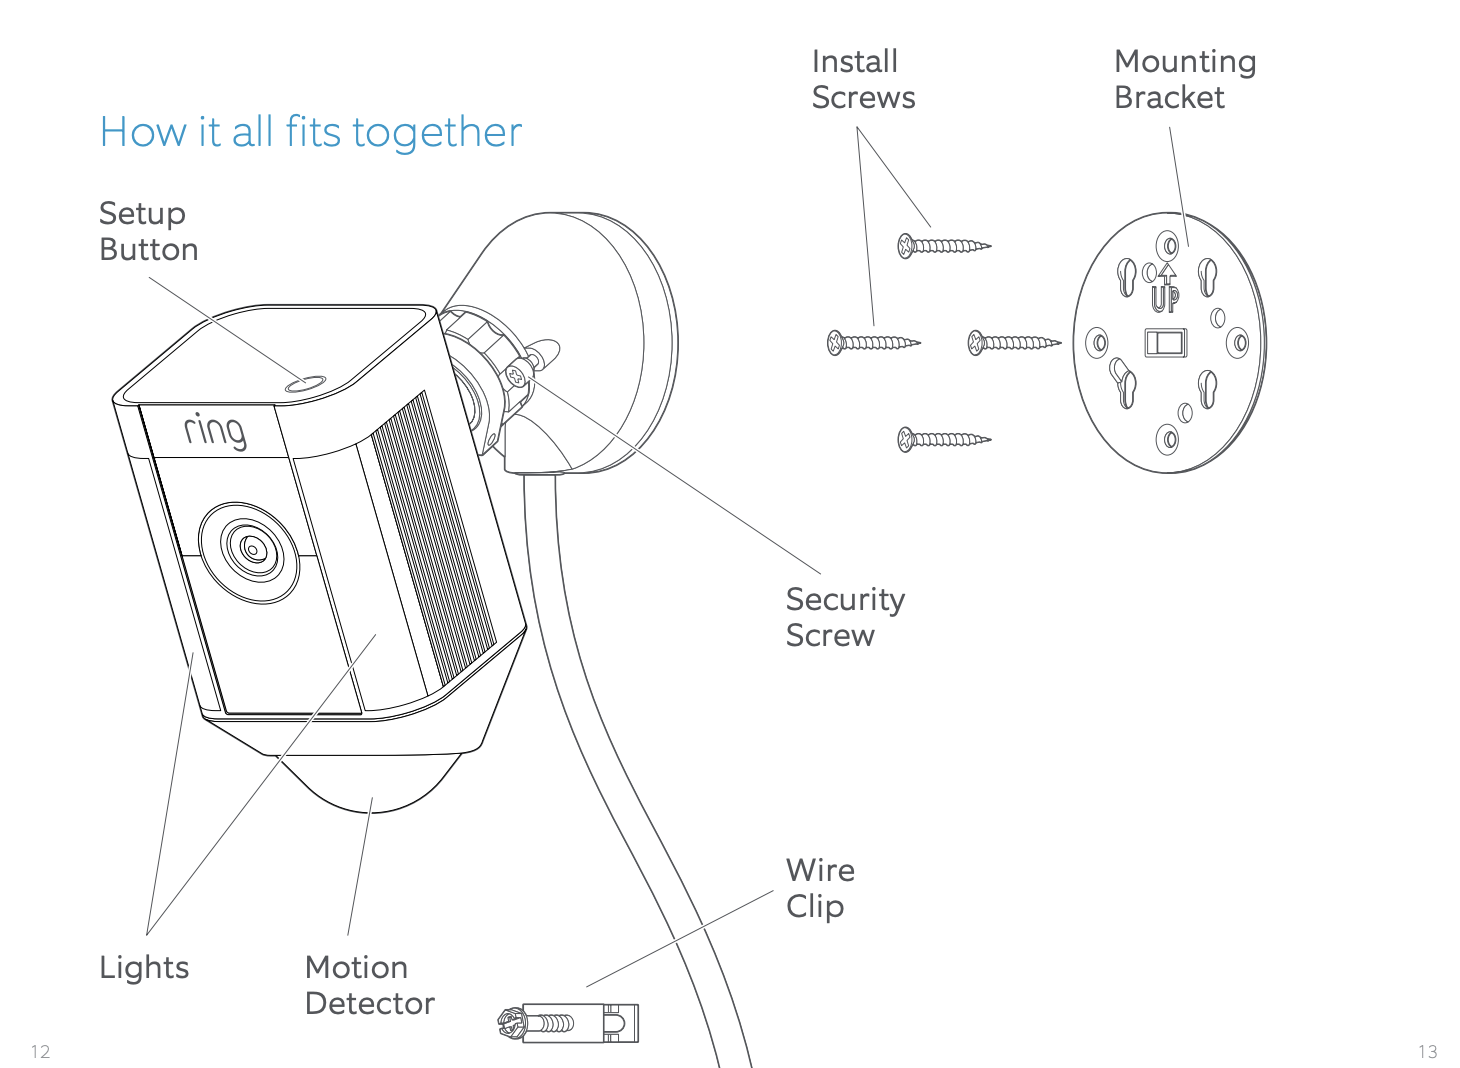
The Ring app will ask you to scan the camera’s QR code. The code may be located:
- On the side or back of the camera
- Under a removable battery cover
- On the setup label
- On the product box
- In the included quick-start documentation
Allow the app to use your phone’s camera when prompted. Hold the phone over the code until the app recognizes it.
If the QR code cannot be scanned, select the option to enter the MAC ID manually, if available. Type the characters carefully. A MAC ID is a unique network identifier, and confusing letters with numbers can prevent setup.
4. Put the camera into setup mode
Follow the app’s instructions to place the camera into setup mode. Depending on the model, this may involve pressing and releasing a setup button. The camera may announce that it is ready, display a spinning light, or show another status indicator.
Do not hold the setup button longer than instructed. A long press may reset some devices instead of starting normal setup.
5. Allow the app to connect to the camera
The Ring app may temporarily connect your phone directly to the camera during setup. On some phones, you may see a prompt asking permission to join a temporary Ring network or to use Bluetooth and nearby-device access.
Approve the requested permissions. These permissions help the app find and configure the camera; they do not replace the camera’s normal internet connection.
If your phone asks whether it should remain connected to a network without internet access, follow the Ring app’s instructions rather than switching away immediately.
6. Select your home Wi-Fi network
Choose the Wi-Fi network you want the camera to use and enter its password. Check the password carefully, including capitalization and special characters.
The camera may take several minutes to connect. Avoid closing the app, moving the camera, or switching your phone to another Wi-Fi network during this step.
7. Wait for the setup confirmation
The Ring app should confirm when the camera is online. The camera may also play a sound or show a status light.
After setup succeeds:
- Give the camera a clear name, such as “Front Yard” or “Back Patio.”
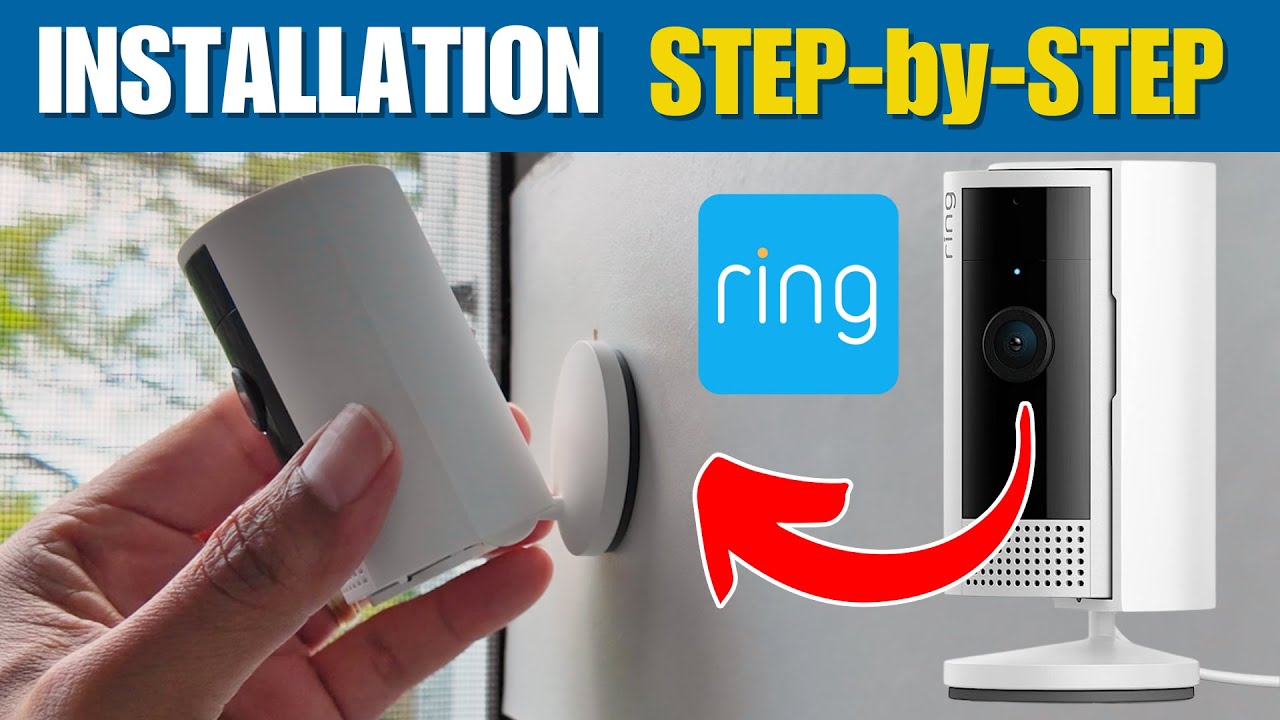
- Follow the app’s orientation or mounting instructions.
- Open the camera from the Ring dashboard.
- Tap Live View to confirm that video loads.
- Walk through the camera’s motion area to test an alert.
A successful setup means the camera appears in the Ring app, Live View opens, and the device can communicate with Ring’s service over the internet.
Source: Bing
How to Connect a Ring Camera That Is Already Set Up
If the camera has already been connected to your Ring account, you do not need to add it again. Open the Ring app and look for the camera on the main dashboard.
Tap the camera’s tile to access:
- Live View
- Motion alerts
- Device health
- Battery or power status
- Wi-Fi signal information
- Motion detection settings
- Video and audio controls
- Shared-user settings
If the camera does not appear in the app, verify that you are signed in with the correct Ring account. A camera belongs to the account used during setup unless the owner transfers or shares access.
Give another person access
The account owner can usually invite another person as a Shared User from the Ring app:
- Open the menu.
- Choose Control Center or account settings.
- Select Shared Users.
- Choose the relevant location.
- Add the person’s email address.
- Have the invited person accept the invitation and sign in or create a Ring account.
Shared access is different from giving someone your password. Do not share your Ring account credentials if the app provides an invitation feature.
Source: Bing
How to Connect Your Ring Camera to a New Wi-Fi Network
If you changed your router, internet provider, Wi-Fi name, or Wi-Fi password, update the network through the Ring app. You generally do not need to delete the camera or create a new account.
The usual process is:
- Open the Ring app.
- Select the camera.
- Open Device Health.
- Choose Change Wi-Fi Network or the equivalent network option.
- Press the camera’s setup button when the app requests it.
- Select the new Wi-Fi network.
- Enter the new password.
- Wait for the camera to reconnect.
Keep the camera near the new router during this process. If the camera is offline and the app cannot begin the Wi-Fi change, you may need to bring the camera closer to the router or follow the model-specific recovery instructions.
Changing the Wi-Fi network does not normally erase recorded videos stored in your Ring account, but video availability depends on your Ring account settings and any applicable subscription or storage terms.
Source: Bing
What to Do If Your Ring Camera Will Not Connect
Troubleshoot the simplest and safest causes first. Avoid resetting the camera until you have checked power, distance, Wi-Fi credentials, and app permissions.
| Symptom | Likely cause | What to check |
|---|---|---|
| Camera is not detected | Camera is not in setup mode or has no power | Charge the battery, reconnect power, and press the setup button as directed |
| Wi-Fi network is missing | Phone or camera is using an unsupported band or the signal is weak | Move closer to the router and confirm the model’s Wi-Fi requirements |
| Password error | Incorrect Wi-Fi credentials | Re-enter the password carefully, including capitalization |
| Setup stops midway | App permissions, VPN, or phone connection issue | Enable Bluetooth, camera, and nearby-device permissions; temporarily disable VPN |
| Camera connects but goes offline | Weak signal, router problem, or power interruption | Check Device Health, restart the router, and test the camera closer to it |
| Live View will not load | Internet, power, or service connection problem | Check the camera’s power and Wi-Fi status, then test another device on the same network |
| Motion alerts do not arrive | Notifications or motion settings are disabled | Check phone notifications, motion zones, and alert schedules |
Restart the basic equipment
A basic restart can resolve a temporary network or app error:
- Close and reopen the Ring app.
- Restart your phone.
- Unplug your router for about 30 seconds, then reconnect it.
- Wait for the home network to return.
- Restart or reconnect the Ring camera according to its model instructions.
Do not repeatedly press buttons or remove a wired camera from its mount unless the instructions for that model require it.
Check the camera’s power
A battery-powered camera may fail to connect when its battery is too low. Charge the battery fully or install a charged spare battery if your model supports one.
For a plug-in camera, confirm that the power adapter is firmly connected and that the outlet works. For a hardwired camera, do not open electrical connections unless you are qualified to work safely with household wiring.
Improve the Wi-Fi connection
If the camera connects near the router but goes offline at its installation location, the issue may be signal strength rather than account setup.
Possible solutions include:
- Moving the router to a more central position
- Reducing walls or metal obstructions between the router and camera
- Using a compatible mesh Wi-Fi system
- Adding a Ring-compatible range solution where appropriate
- Installing the camera closer to the router
- Updating router firmware according to the router manufacturer’s instructions
A stronger connection can improve reliability, but it cannot correct an incorrect Wi-Fi password, unsupported network configuration, defective power supply, or account problem.
Reset the camera only as a last resort
A factory reset may remove the camera’s current configuration and require you to set it up again. Reset procedures vary by Ring model, so use the instructions for the exact camera rather than guessing how long to hold a button.
Resetting is most appropriate when:
- The camera was previously owned by someone else and has not been transferred
- The app repeatedly fails after power and network checks
- The camera remains stuck in setup mode
- Ring Support instructs you to reset it
If a used Ring camera is still registered to another person’s account, a factory reset may not resolve account ownership issues. The previous owner may need to remove it from their Ring account.
Source: Bing
How to Improve Ring Camera Connection Reliability
The most reliable setup combines adequate power, a strong Wi-Fi signal, correct motion settings, and an updated Ring app.
After connecting the camera:
- Open Device Health and review the Wi-Fi connection status.
- Test Live View from the camera’s final location.
- Check whether the camera is receiving consistent power.
- Adjust motion zones to avoid unnecessary alerts.
- Confirm that phone notifications are enabled for the Ring app.
- Keep the Ring app and phone operating system updated.
- Review the camera periodically after router or network changes.
A camera that works near the router but fails outdoors may need a better network path rather than a new Ring account. Similarly, a camera that records video but does not send alerts may have notification or motion settings problems instead of a connection failure.

Source: Bing
Ring Camera Connection and Privacy Considerations
Connecting a Ring camera gives the Ring account access to video, audio, device status, and account controls associated with that device. Protect the account as carefully as you would any other connected-home account.
Use a strong, unique password and enable available account security features, such as two-step verification. Review Shared Users regularly and remove people who should no longer have access.
Point the camera only where you have a legitimate reason to monitor property. Avoid aiming it into areas where neighbors or other people have a reasonable expectation of privacy. Local laws concerning audio recording, shared spaces, and consent can differ by state and situation. For a specific legal question, consult a qualified attorney in your state.

Source: Bing
Key Takeaways
- Install the Ring app and sign in before connecting the camera.
- Charge the battery or connect the correct power adapter.
- Keep the camera close to the router during setup.
- Use Set Up a Device in the Ring app and scan the QR code or enter the MAC ID.
- Select the correct Wi-Fi network and enter its password carefully.
- Test Live View and motion alerts after setup.
- Use Device Health to change Wi-Fi or diagnose an offline camera.
- Reset the camera only after checking power, Wi-Fi, app permissions, and account access.
Frequently Asked Questions
Do I need a Ring subscription to connect my camera?
No. A Ring subscription is not generally required to complete initial device setup or view Live View. Some video recording, storage, notification, or advanced features may depend on your Ring plan and the specific product.
Can I connect a Ring camera without Wi-Fi?
Ring cameras generally require an internet connection through Wi-Fi for cloud-connected features such as remote Live View and app notifications. A phone hotspot may work in limited situations, but it may be unreliable, use significant data, or be incompatible with certain camera setups.
Why can’t I find my Ring camera in the app?
Confirm that you are signed in to the account used during setup. If the camera is new, add it through Set Up a Device. If it was previously owned, the prior owner may need to remove or transfer it. Also check that the camera has power and is in setup mode.
Can I connect a Ring camera to two phones?
Yes. The account owner can use the Ring app on multiple compatible phones by signing in. The owner can also invite other people as Shared Users instead of sharing the account password.
How far can a Ring camera be from my router?
There is no single distance that works for every home. Walls, floors, building materials, interference, router placement, and the camera model affect the usable range. Test the camera at its intended location and use the Device Health screen to evaluate the connection.
What should I do if my Ring camera is offline?
Check the camera’s power first, then inspect Device Health, restart the router, verify the Wi-Fi network, and bring the camera closer to the router for testing. If it remains offline, follow the model-specific Ring support instructions before performing a factory reset.
Conclusion
To connect your Ring camera, use the Ring app to add the device, scan its QR code or enter its MAC ID, and connect it to your home Wi-Fi network. Keep the camera powered and near the router during setup, then test Live View and motion alerts from the camera’s final location.
If the setup fails, check power, Wi-Fi credentials, app permissions, network distance, and account ownership in that order. For model-specific button locations, reset instructions, and compatibility details, use the official Ring support documentation for your exact camera model.
