
Introduction
To connect a Ring camera in the United States, install the Ring app, sign in or create a Ring account, power on the camera, and use the app’s Set Up a Device option to connect the camera to your home Wi-Fi network. Keep your phone near the camera and use the Wi-Fi password for the network you want the camera to use.
The same basic process applies to Ring Indoor Cam, Stick Up Cam, Floodlight Cam, Spotlight Cam, and most Ring Video Doorbell models. The exact screens can vary by model, app version, and whether the device uses a battery, plug-in power, or existing wiring.

Source: Bing
What You Need Before Connecting a Ring Camera
Prepare the following items before starting setup:
- A compatible iPhone or Android phone
- The latest version of the Ring app
- A Ring account, or an email address for creating one
- The Wi-Fi network name and password
- A charged battery or access to the camera’s power adapter
- The camera and your phone located near the home router during setup
- A stable internet connection
Ring cameras normally connect to a wireless router through Wi-Fi. Your phone does not permanently act as the camera’s connection. Instead, the Ring app temporarily helps transfer your Wi-Fi information to the camera.
Check the camera’s power source
Power requirements depend on the Ring model:
- Battery-powered cameras: Charge and insert the battery before setup.
- Plug-in cameras: Connect the included power adapter to a working indoor or outdoor outlet.
- Wired doorbells: Turn off power at the electrical panel before working with existing doorbell wiring. If you are unsure about the wiring, contact a qualified electrician.
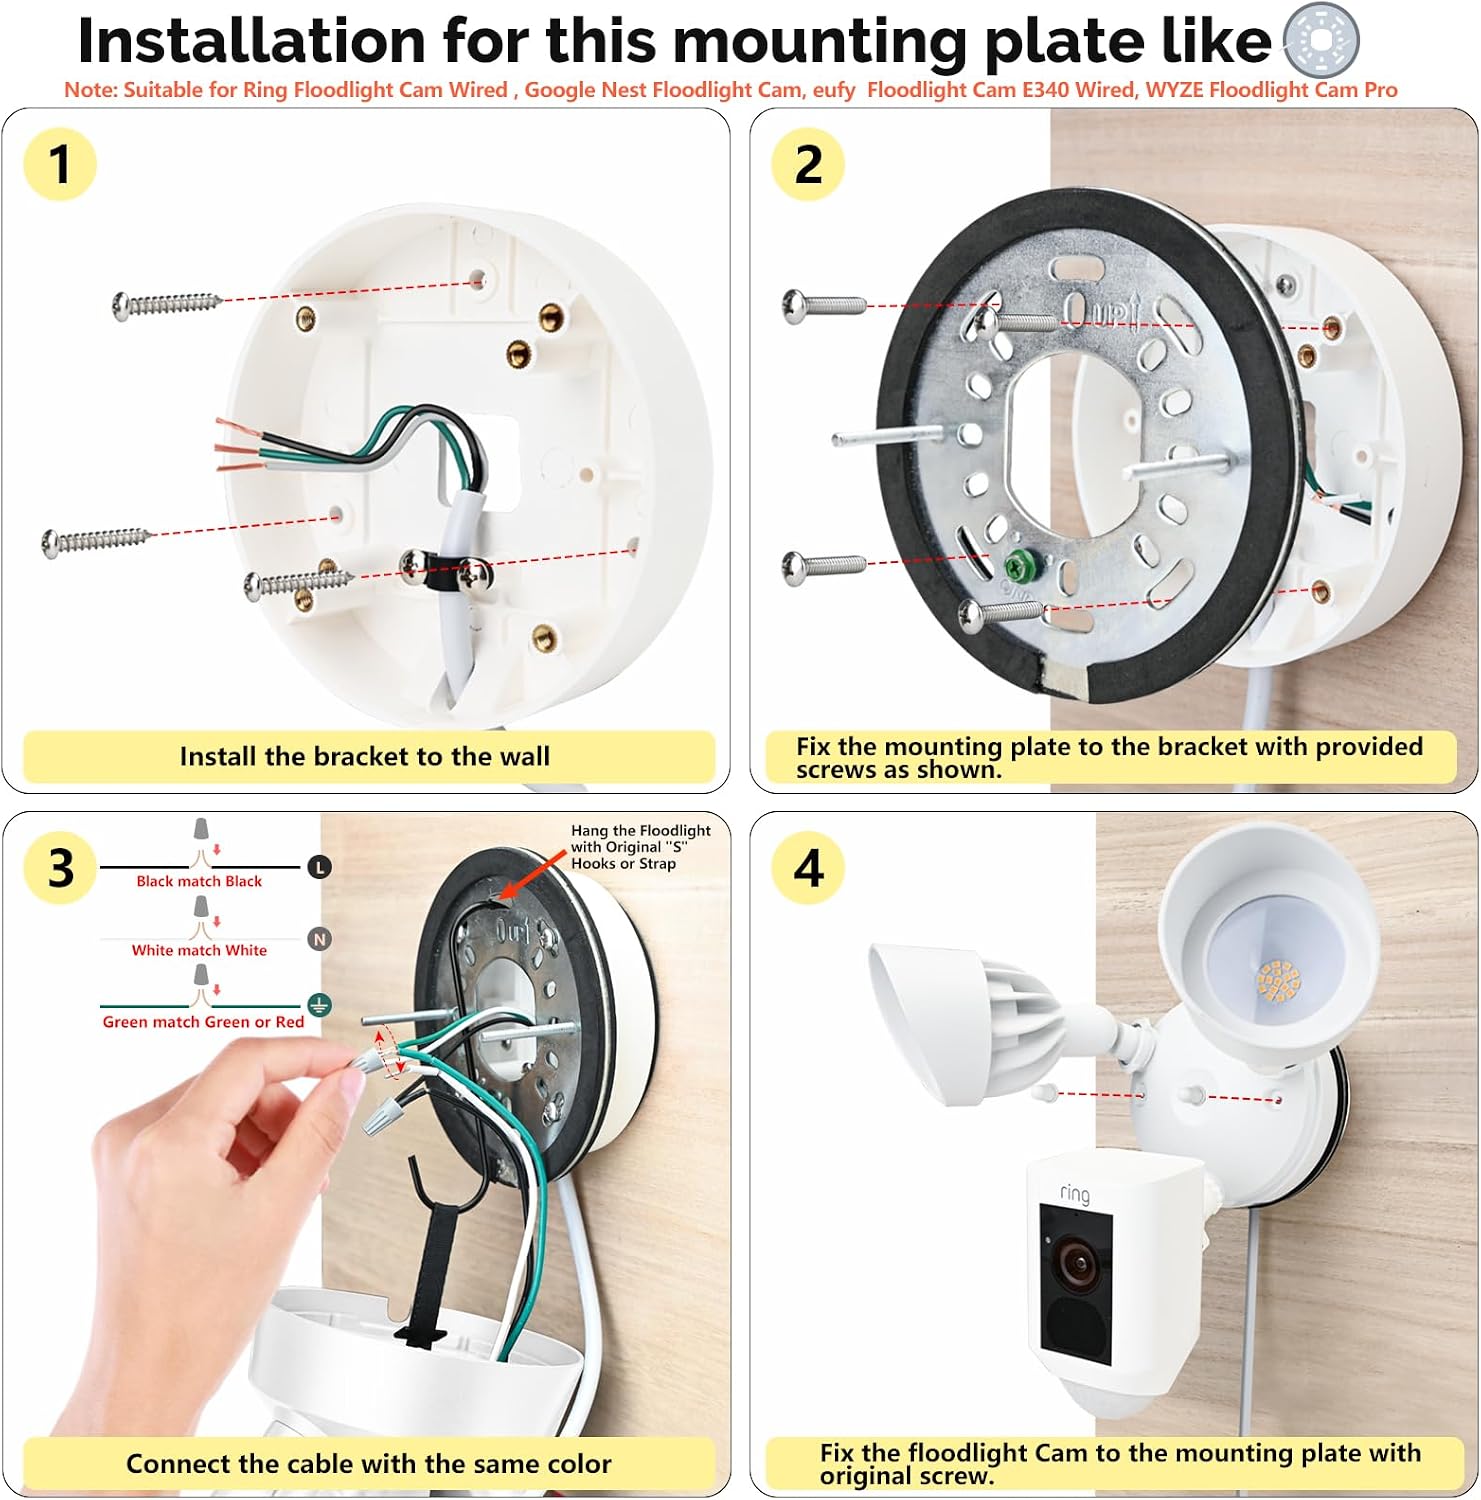
- Floodlight and other hardwired cameras: These may require permanent electrical connections and should be installed according to the product instructions or by a qualified professional.
A camera that is not receiving power may not enter setup mode, even when the Ring app is working correctly.
Check your Wi-Fi network
Most Ring cameras require a compatible 2.4 GHz Wi-Fi connection. Some newer Ring devices support both 2.4 GHz and 5 GHz networks, but compatibility varies by model.
If your router uses one network name for both bands, the Ring app may automatically select the appropriate connection. If setup fails, temporarily connecting your phone to the router’s 2.4 GHz network can help determine whether band selection is the problem.
Avoid setting up the camera on:
- A guest network that blocks communication between devices
- Public Wi-Fi requiring a browser login
- A network with an unknown password
- A cellular hotspot unless the Ring model and hotspot support it reliably
How to Connect a Ring Camera to Wi-Fi
Follow these steps to connect most Ring cameras to your home network.
1. Install or update the Ring app
Download the official Ring app from the Apple App Store or Google Play Store. Sign in with your Ring account or create a new account.
Allow the permissions the app requests during setup. Depending on your phone and Ring model, these can include:
- Bluetooth
- Local network access
- Location access
- Camera access for scanning a QR code
- Notifications
These permissions help the app find the device, transfer network information, and notify you about motion or other events. You can review notification and privacy settings after setup.
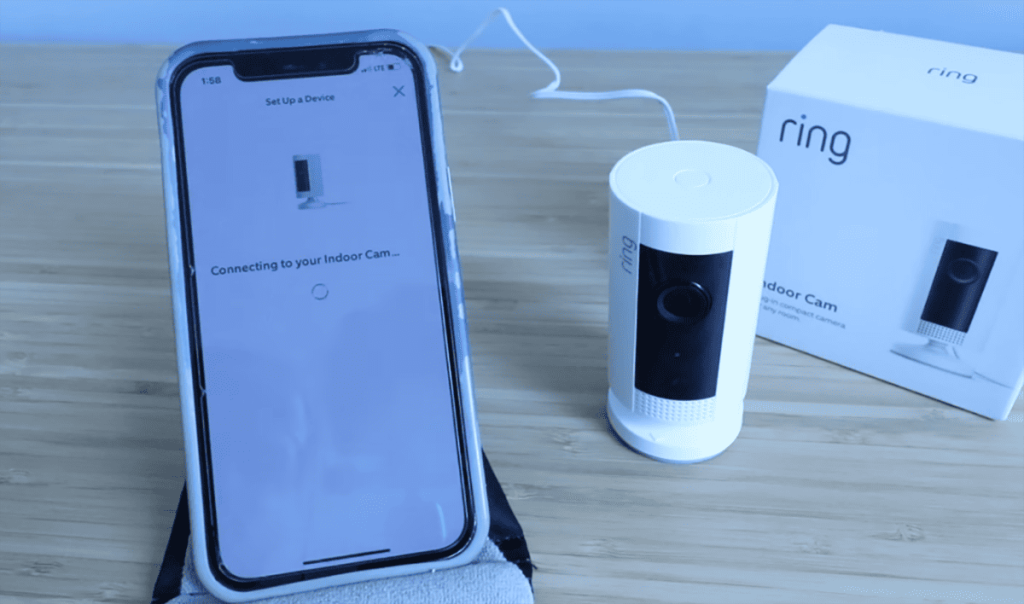
2. Start device setup
Open the Ring app and select:
- Menu
- Set Up a Device
- The appropriate product category, such as Security Cameras or Video Doorbells
- Your specific Ring model
The model name may appear on the box, product label, or included setup guide. Selecting the correct model matters because different Ring devices use different setup instructions and power requirements.
3. Scan the setup code
The app may ask you to scan a QR code or MAC ID barcode. The code is commonly found:
- On the camera
- Under or behind the battery cover
- On the product packaging
- In the printed setup guide
Hold your phone steady and position the code inside the outline shown in the app. If the code will not scan, use the option to enter the device information manually, if available.
Do not share a clear photo of the setup code publicly. It identifies your device and may be useful to someone attempting unauthorized setup.
4. Put the camera into setup mode
The Ring app will explain how to place your model into setup mode. This commonly involves pressing a setup button, but the location differs by device.
Look for:
- A flashing or spinning blue light
- A voice prompt
- A setup message in the Ring app
If nothing happens, confirm that the battery is charged or that the power adapter is firmly connected. Do not repeatedly press buttons without checking the model instructions, because some buttons reset the camera instead of starting normal setup.
5. Connect your phone to the Ring device
During setup, the app may ask your phone to connect temporarily to a Ring network. This allows the app to communicate directly with the camera before the camera joins your home Wi-Fi.
If your phone displays a warning that the temporary Ring network has no internet access, remain connected long enough for the app to complete this step. Return to the Ring app rather than manually switching networks.
On some phones, mobile data or automatic network switching can interrupt the process. If the app cannot find the camera, temporarily disable mobile data or automatic Wi-Fi switching and try again.
6. Select your home Wi-Fi network
Choose the network that the camera should use and enter the Wi-Fi password exactly as it appears.
Check for:
- Uppercase and lowercase letters
- Spaces
- Hyphens and special characters
- Similar characters such as
Oand0 - The correct network if multiple networks are available
Keep the camera close to the router during this step. You can move it to the intended installation location after setup succeeds.
7. Wait for the connection to finish
The camera may restart, update its software, or display a changing status light. Do not remove the battery or unplug the camera during an update.
Setup is usually complete when:
- The Ring app shows the camera on the device dashboard
- The camera appears online
- Live View opens successfully
- The app displays a camera image
- The camera responds to a motion test
If the app asks you to name the device, use a clear name such as “Front Door,” “Garage,” or “Backyard.” A specific name helps when you use multiple cameras or connect Ring to a voice assistant.
Source: Bing
How to Confirm That Your Ring Camera Is Connected
A successful setup requires more than seeing the camera listed in the app. Confirm the camera’s connection with these checks.
Test Live View
Open the Ring app, select the camera, and tap Live View. The video should load without repeatedly disconnecting.
A short delay can occur because the video travels from the camera through your internet connection to the Ring app. A delay or occasional loading period does not necessarily mean the camera is defective.
Test motion alerts
Walk through the camera’s viewing area while notifications are enabled. The camera should detect motion and send an alert to your phone.
If no alert appears:
- Confirm that motion detection is enabled in the Ring app.
- Check that your phone allows Ring notifications.
- Review the camera’s Motion Zones and sensitivity.
- Confirm that a Motion Schedule is not disabling alerts.
- Check whether the camera is online.
Motion detection depends on the camera’s position, lighting, movement direction, and settings. A person walking directly toward the camera may be detected differently from someone moving across its field of view.
Check the device status
In the Ring app, open the camera’s device settings and look for its network or device health information. Depending on the app version, this may show:
- Online or offline status
- Wi-Fi network name
- Signal strength
- Battery level
- Firmware or software information
A weak Wi-Fi signal can allow the camera to appear online while still causing delayed notifications, low-quality video, or frequent disconnections.
Test the microphone and speaker
If your model supports two-way talk, open Live View and test the microphone and speaker. Make sure your phone’s volume is turned up and that the Ring app has microphone permission.
Avoid testing two-way audio with the phone and camera close together, since this can produce feedback or an echo.
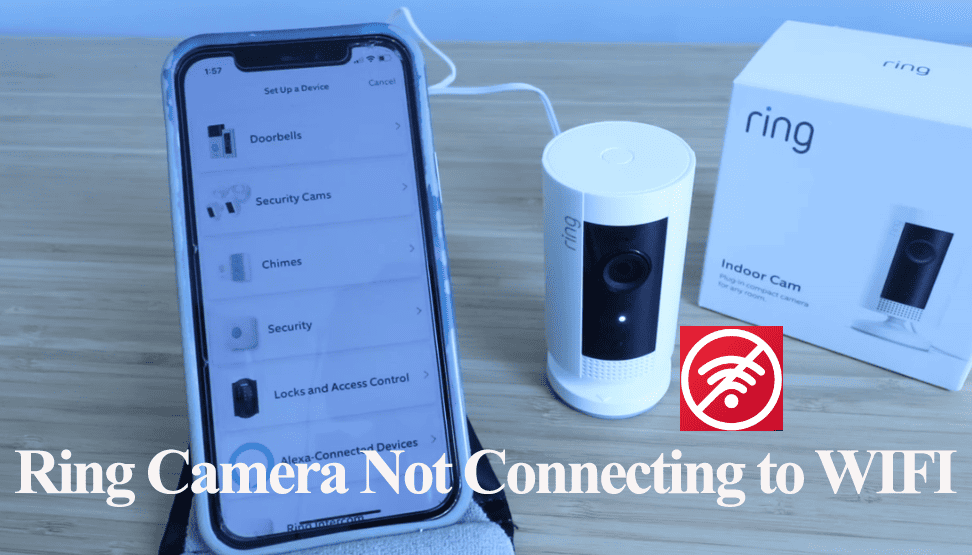
What to Do If Your Ring Camera Will Not Connect
If the Ring camera fails during setup, work through the checks below in order. Most connection problems involve power, Wi-Fi credentials, network compatibility, distance from the router, or phone permissions.
The Ring app cannot find the camera
Try these steps:
- Confirm that the camera has power.
- Press the setup button according to the model instructions.
- Check for a setup light or voice prompt.
- Move your phone and camera closer together.
- Enable Bluetooth and local network access for the Ring app.
- Close and reopen the Ring app.
- Restart your phone.
- Restart the router if other devices are also having problems.
If the camera was previously registered to another Ring account, the prior owner may need to complete the device transfer process. A factory reset does not necessarily resolve ownership or account-transfer issues.
The Wi-Fi password is rejected
Re-enter the password carefully and verify that you selected the correct network. If the password contains unusual characters, check the router’s saved network details or test the password on another device.
If the camera still will not connect:
- Try the 2.4 GHz band if the model supports it.
- Temporarily move the camera close to the router.
- Turn off a VPN on your phone.
- Disconnect from a guest network.
- Check whether the router uses access controls or device blocking.
- Restart the router and try setup again.
Do not permanently weaken router security just to complete setup. For example, disabling encryption or enabling unrestricted access can expose other devices on the network.
The camera connects but goes offline later
A camera that works near the router but disconnects at its installation location usually has a signal or power problem.
Possible causes include:
- Thick walls, brick, concrete, or metal
- A long distance between the camera and router
- Router interference from other wireless equipment
- A depleted battery
- An outdoor outlet or cable problem
- A router that is overloaded or unstable
Practical fixes include moving the router, adding a compatible mesh access point, using a Ring Chime Pro where appropriate, or relocating the camera. A Wi-Fi extender can help, but only if it provides a stable connection at the camera’s location.
Check the camera’s device health information after each change. The goal is not simply to increase the number of Wi-Fi bars; it is to achieve stable Live View, timely notifications, and consistent online status.
Live View loads slowly or fails
A slow Live View may result from low upload speed, weak Wi-Fi, congestion, or an overloaded phone connection. Test other devices on the same network and try Live View when fewer people are using the internet.
If only the Ring camera has trouble:
- Restart the camera if the model permits it.
- Check its Wi-Fi signal in Device Health.
- Move the camera temporarily near the router.
- Update the Ring app.
- Restart the router.
- Reconnect the camera to Wi-Fi if the app offers that option.
If video remains unstable near the router, the issue may involve the camera, account, app, or internet service rather than signal range.
The camera is online but does not record
Ring cameras can generally provide live video without a recording subscription, but recorded video storage and certain features depend on the Ring plan, device, location, and current terms.
If you expect an event to appear in Event History, check:
- Whether the camera has an active plan that includes recording
- Whether the motion event was detected
- Motion Zones and sensitivity
- Motion Schedules
- Privacy Zones
- The device’s online status at the time of the event
- Whether the event was manually deleted or expired under the applicable plan terms
Do not assume that every motion visible in Live View will be saved as a recording.

Source: Bing
How to Connect a Ring Camera to a New Wi-Fi Network
If you replace your router or change the network name or password, update the camera’s Wi-Fi details in the Ring app.
The usual process is:
- Open the Ring app.
- Select the camera.
- Open Device Dashboard or Device Health.
- Select Change Wi-Fi Network or the equivalent network option.
- Follow the instructions to place the camera in setup mode.
- Select the new Wi-Fi network.
- Enter the new password.
- Wait for the camera to reconnect.
Menu names can change between Ring app versions and device models. If the camera is offline and the app does not offer a network-change option, bring the camera near the router and follow the model-specific reconnection instructions.
You typically do not need to delete the camera from your Ring account simply because the Wi-Fi network changed. Deleting it first can create unnecessary setup and ownership complications.
Source: Bing
How to Connect a Ring Camera to Alexa
You can connect compatible Ring devices to Amazon Alexa through the Alexa app. This may allow Alexa-enabled devices to announce motion, display a camera feed on a compatible screen, or provide other supported controls.
To connect them:
- Open the Alexa app.
- Open More and select Skills & Games.
- Search for the Ring skill.
- Enable the skill.
- Sign in with the same Ring account used for the camera.
- Allow Alexa to discover devices.
- Review the devices and announcement settings.
Available commands and features depend on the Ring model, Alexa device, account configuration, and region. Linking Alexa does not replace the Ring app; use the Ring app for device setup, detailed camera settings, firmware-related tasks, and account management.
Ring Camera Placement, Privacy, and Safety
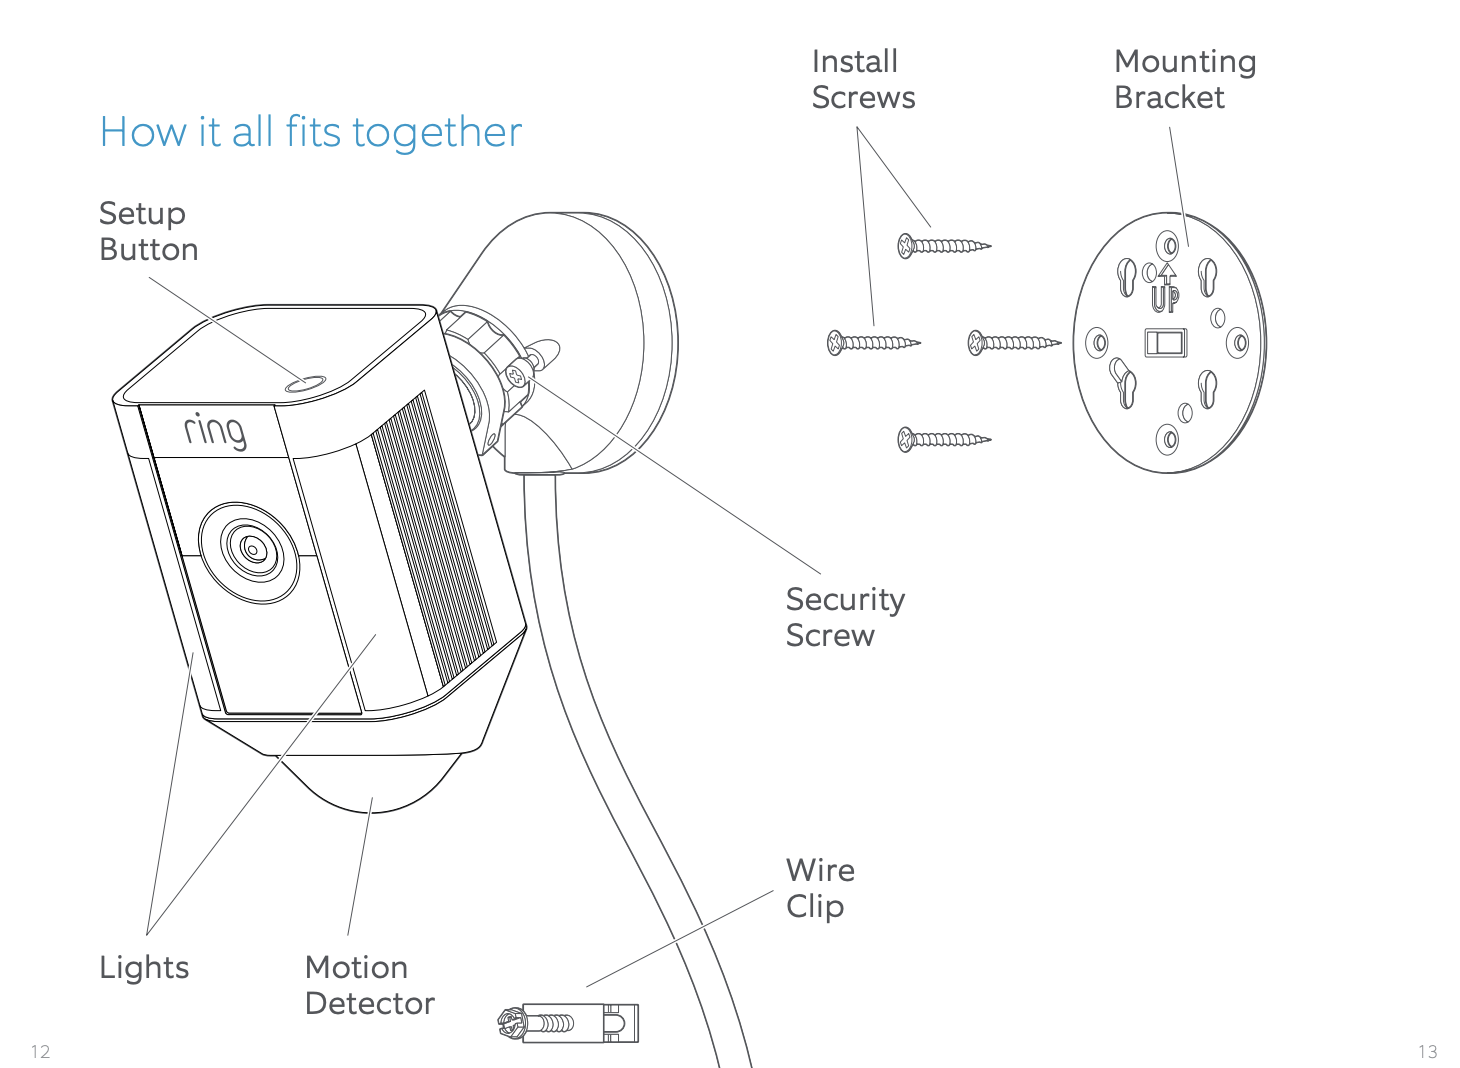
Connect the camera before permanently mounting it. This lets you test Wi-Fi, video coverage, motion detection, and power at the intended location.
For placement:
- Avoid pointing the camera directly into bright lights.
- Keep the lens clear of walls, trim, plants, and obstructions.
- Aim only at areas you are authorized to monitor.
- Use Privacy Zones to block parts of the image that should not be recorded.
- Adjust Motion Zones to reduce unnecessary alerts.
- Keep battery devices accessible enough for safe charging.
- Protect outdoor power connections according to the product instructions and local electrical requirements.
A camera may capture neighbors, shared hallways, sidewalks, visitors, delivery workers, or public areas. Privacy and audio-recording rules vary by state and circumstance in the United States. Before recording conversations or placing a camera where other people have a reasonable expectation of privacy, review applicable federal, state, and local requirements. For a legal question involving audio, tenants, employees, or shared property, consult a qualified attorney.
Never work on fixed household wiring while power is present. Turn off the relevant circuit at the electrical panel and verify that it is de-energized. If you cannot identify the circuit or wiring safely, use a qualified electrician.
Source: Bing
Common Mistakes When Connecting a Ring Camera
Avoid these setup errors:
Setting up the camera at its final location
A weak signal at the mounting point can make setup fail or create later disconnections. Complete initial setup near the router, then test the final location.
Choosing the wrong Wi-Fi band or network
Selecting a guest network, a distant mesh node, or an unsupported band can prevent reliable operation. Confirm the model’s network requirements in its official documentation.
Ignoring phone permissions
The Ring app may need Bluetooth, local network access, location access, or camera access during setup. Denying a required permission can make the camera appear undiscoverable.
Resetting the camera too early
A factory reset should be a later troubleshooting step, not the first response to a failed connection. Resetting can erase configuration and require the setup process to start again.
Assuming battery life is only a Wi-Fi issue
Frequent motion events, cold weather, weak Wi-Fi, Live View use, and high activity can reduce battery runtime. Improve motion settings and signal quality before concluding that the battery or camera has failed.
Placing the camera where the Wi-Fi signal is marginal
The camera may connect successfully during setup near the router but fail once moved outside or to another floor. Test the actual mounting location before drilling holes or finalizing installation.
Key Takeaways
- Use the Ring app to select Set Up a Device, scan the camera’s code, and connect it to the correct home Wi-Fi network.
- Charge the battery or connect power before starting.
- Keep the phone and camera near the router during setup.
- Check Live View, motion alerts, audio, and device status after installation.
- If the camera goes offline, investigate power, Wi-Fi strength, router settings, and app permissions in that order.
- Do not work on hardwired installations unless the power is off and the wiring is safe to handle.
- Review U.S. privacy and audio-recording requirements before monitoring areas where other people may be recorded.
Frequently Asked Questions
Can I connect a Ring camera without Wi-Fi?
Most Ring cameras require Wi-Fi for setup, cloud communication, Live View, alerts, and remote access. A phone’s mobile data connection does not normally replace the camera’s required Wi-Fi connection. A compatible hotspot may work in some circumstances, but it can be less reliable and may have data limits.
Why is my Ring camera not showing up in the Ring app?
Confirm that the camera has power and is in setup mode. Then check Bluetooth, local network permissions, the camera’s setup code, and the distance between the phone and camera. If the camera belongs to another account, the previous owner may need to transfer it.
Does a Ring camera need a subscription to work?
A subscription is not generally required for basic setup and Live View, but recording storage and some additional features depend on the applicable Ring plan, device, and current service terms. Review the plan details for your specific model and U.S. account.
Can I connect a Ring camera to two phones?
Yes. Additional household members can usually access a shared Ring device through a shared location or user permissions rather than setting up the camera as a completely new device. Use account-sharing controls so each person has the appropriate level of access.
How do I reconnect a Ring camera after changing my router?
Open the Ring app, select the camera, go to its device or network health settings, and choose the option to change the Wi-Fi network. Follow the prompts to place the camera in setup mode and enter the new network password.
What should I do if my Ring camera still will not connect?
Verify power, restart the phone and router, try a compatible 2.4 GHz network, move the camera closer to the router, and confirm app permissions. If those steps fail, consult the official Ring support page for the exact model and contact Ring support with the device name, error message, and troubleshooting steps already completed.
Conclusion
Connecting a Ring camera usually involves four core actions: install the Ring app, place the camera in setup mode, select the correct Wi-Fi network, and confirm operation through Live View and motion testing. Complete setup near the router first, then evaluate the camera’s signal and power at its permanent location.
If setup fails, avoid immediately resetting or remounting the device. Check power, permissions, Wi-Fi credentials, network compatibility, and signal strength systematically. For hardwired cameras and doorbells, follow electrical safety procedures or hire a qualified professional.
