
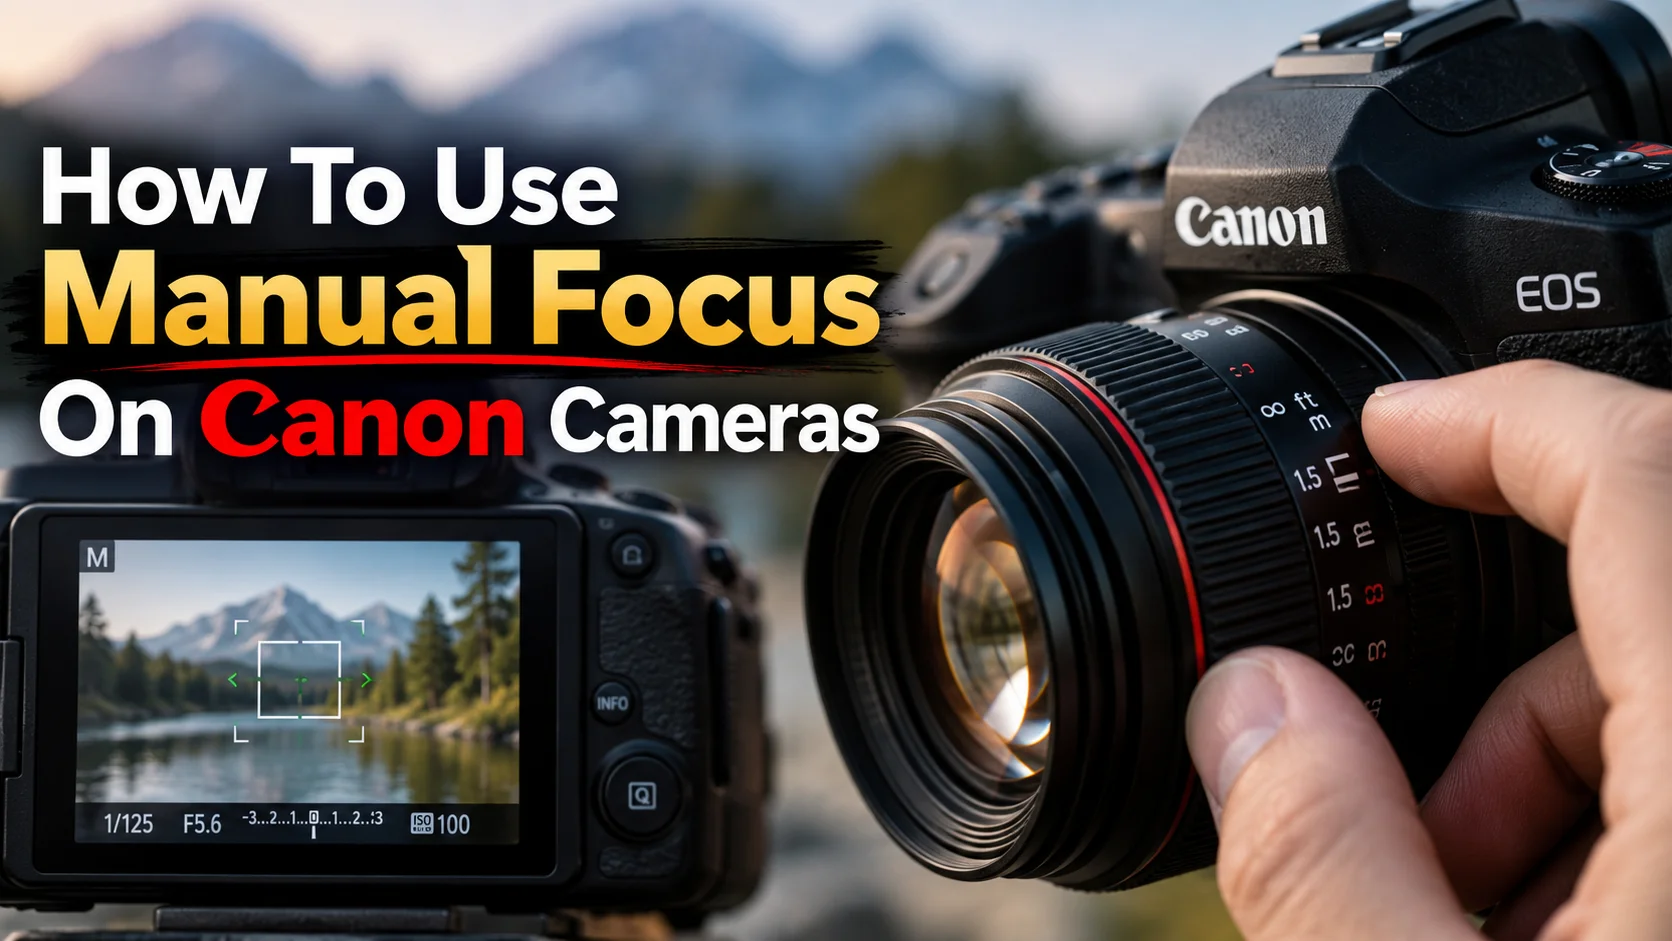
our camera lens hunts back and forth. It makes loud clicking sounds. The picture is still blurry. You missed the perfect shot. This is a very common problem. Auto focus is great, but it is not perfect. It fails in low light. It fails when you shoot close to your subject.
This is why you must learn how to use manual focus on Canon. Doing this puts you in full control. You tell the camera exactly what to look at. You will stop missing great shots. You will get sharp images every time.
I am Ellis Evans. I test cameras and gear for TechToGoal. In my experience, hand-focusing is a skill every shooter needs. It is easy to learn. It just takes a little practice. In this guide, I will show you the exact steps. You will learn how to set up your gear. You will learn the best tricks for clear photos.
Quick Answer
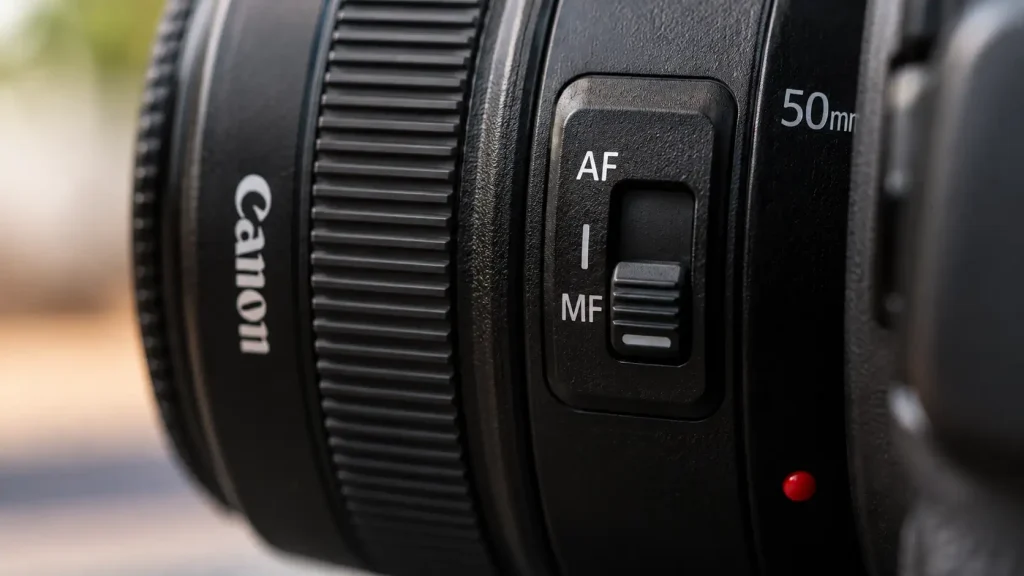
To use manual focus on a Canon camera, find the AF/MF switch on the side of your lens. Push the switch to the “MF” position. Next, look through your viewfinder or rear screen. Turn the ribbed focus ring on the front of the lens until your subject looks completely sharp.
Why You Need To Learn This Skill
You might ask why you should turn off auto focus. Modern cameras are very smart. They track eyes. They track faces. But they still get confused.
If you want to master how to use manual focus on canon photography, you must know when to use it. Here are the best times to turn the dial yourself.
Shooting In Dark Places
Cameras need light to see. If you shoot at night, the sensor gets confused. The lens will move in and out. It will never lock on. If you focus by hand, you solve this problem fast.
Taking Close Up Photos
Macro shots are hard. You get very close to a bug or flower. The focus area is very thin. The camera might grab the background. It might miss the subject. You must use your hands to get the sharpest details.
Shooting Through Glass or Fences
Do you visit the zoo? You might shoot through a wire fence. The camera will focus on the wire. It will not focus on the tiger. When you focus by hand, you can blur the fence away. You make the tiger sharp.
Also See: Best Manual Focus Camera Android: 5 Top Picks
Steps To Setup Your Gear
Let us look at how to use manual focus on canon eos bodies. The steps are very simple. You can do this in just a few seconds.
Step 1: Find the Switch
Look at the side of your lens. You will see a small switch. It says AF and MF. AF means Auto Focus. MF means Manual Focus.
Step 2: Move the Switch
Push the switch to MF. You might hear a small click. Your camera will now stop focusing for you. You must do the work.
Step 3: Find the Ring
Look at the front of your lens. You will see a ring with rubber ridges. This is the focus ring. If you have a zoom lens, there are two rings. One ring zooms in and out. The other ring changes the focus. Find the correct ring.
Step 4: Turn and Look
Look through the top viewfinder. Slowly turn the ring left and right. You will see the image change. It will go from blurry to clear. Stop turning when the subject looks best.
Tips For Getting Clear Shots
It can be hard to see if a shot is truly sharp. Your eyes might play tricks on you. Here are ways to make sure you get the best results.
Use The Live View Screen
Do not use the small top window. Press the button to turn on the large back screen. This is called Live View. A big screen is easier to see. It helps you catch tiny details.
Zoom In Digitally
This is my favorite trick. When Live View is on, press the magnifier button. It looks like a small magnifying glass. This zooms in on the screen. It does not change the lens zoom. It just makes the screen picture bigger. Now, turn your focus ring. You will see exactly when the subject is sharp.
Look For Focus Peaking
Newer mirrorless cameras have a great tool. It is called focus peaking. It puts a bright red or yellow line on sharp edges. Turn your ring. When your subject glows red, it is sharp. Press the button and take the photo.
When comparing different brands, you might search for how to use manual focus on canon Nikon or Sony cameras. The good news is that peaking works the same way on almost all new brands. It is a tool you should always turn on in your camera menu.
When To Use Manual Mode
Different scenes require different rules. Let us look at a few real-world examples.
Star and Sky Shots
You cannot use auto focus on stars. They are too small. Set your lens switch to MF. Turn your ring to the infinity mark. The mark looks like a sideways eight. Take a test shot. View the picture. Zoom in on a bright star. Is it a sharp dot? If it looks like a blurry circle, adjust the ring.
Landscape Shots
Mountains do not move. Trees stand still. You have plenty of time. Set up a tripod. Turn on your screen. Zoom in on a far away tree. Turn the ring by hand. According to the DxOMark camera sensor testing methodology, getting the focus right at the lens level is the best way to get crisp image quality. Do not rush this step.
Video Recording
Auto focus in video can look bad. The lens might pulse. It might jump from a person to the wall. This ruins the clip. Professionals turn off auto focus for video. They turn the ring smoothly by hand. This looks much better.
Common Mistakes Camera Buyers Should Avoid
Many new shooters make the same errors. Read this list to keep your gear safe.
-
Forgetting to switch back: You finish your macro shot. You go shoot sports. You forget the lens is still on MF. All your sports shots are blurry. Always check your switch.
-
Turning the wrong ring: Zoom lenses have two rings. Make sure you turn the focus ring. If you turn the zoom ring, your framing will change.
-
Forcing a locked ring: Some older lenses lock the focus ring when in AF mode. If you try to turn it, you can break the small gears inside. Always check that the switch is on MF before you twist.
-
Trusting bad eyesight: If you wear glasses, adjust the small dial near the viewfinder. This dial is the diopter. It matches the camera to your eye. If the diopter is wrong, your manual focus will always be wrong.
Helpful Comparison: Auto vs Manual Focus
This table shows when you should use each mode.
| Situation | Best Focus Mode | Reason Why |
| Fast sports or running kids | Auto Focus (AF) | Subjects move too fast for your hands. |
| Bugs, flowers, or jewelry | Manual Focus (MF) | Camera gets confused by small details. |
| Starry night skies | Manual Focus (MF) | Too dark for the camera to see anything. |
| Family portraits | Auto Focus (AF) | Eye tracking works best for faces. |
| Shooting through zoo glass | Manual Focus (MF) | Camera will focus on the dirty glass. |
When to Get Professional Help or a Second Opinion
Sometimes, your gear has a real problem. You cannot fix everything at home. You need to know when to stop.
Watch for these warning signs:
-
The focus ring feels gritty. It sounds like sand is inside.
-
The ring is stuck. It will not turn at all.
-
The lens makes loud squeaking noises.
-
The switch falls off or feels completely loose.
If you see these signs, do not force the ring. You will strip the delicate gears. You will ruin the lens motor.
Put the lens in a clean bag. Take it to an authorized repair shop. Modern lenses have complex parts. Reading the official Canon support and service manuals shows that fixing a lens requires special tools. DIY repairs can easily ruin expensive glass. Let a trained expert look at it.

Expert Tip
Expert Tip:
Do not turn the ring to focus on macro shots. Set the focus ring to a close distance. Then, leave it alone. Move your entire body slowly forward and backward. Watch the screen. When the bug comes into sharp view, click the button. This is much easier than twisting the ring while balancing.
The Cost of Repair vs Replacement
If your focus ring breaks, you face a choice. Should you fix it? Should you buy a new one? Here are some simple rules.
If you have a cheap kit lens, a repair might cost more than a new lens. A basic 18-55mm lens is cheap to buy used. Just replace it.
If you have an expensive “L” series lens, you should fix it. These lenses cost a lot of money. A repair bill is worth it. Professional glass holds its value for years.
Take your time when buying used lenses. Test the MF ring before you pay. Turn it left and right. It should feel smooth. It should not stick. If it sticks, do not buy it.
FAQs
What does MF mean on my lens?
MF stands for Manual Focus. When you select this, the camera stops focusing for you. You must turn the front lens ring by hand to make the picture sharp.
Will manual focus work in the dark?
Yes. It is the best choice for dark scenes. Auto focus needs bright light to find edges. When you use your hands, you can focus on stars or distant street lamps easily.
Why is my focus ring locked and hard to turn?
Your lens is likely still in Auto Focus (AF) mode. Many lenses lock the ring to protect the internal motor. Move the side switch to MF, and the ring should turn freely.
Can I use manual focus on moving subjects?
You can, but it is very hard. It takes years of practice to track a moving car or bird by hand. For fast action, you should switch back to AF mode.
Do I need a special lens to focus by hand?
No. Almost all modern camera lenses have an MF switch and a focus ring. You can use this mode with basic kit lenses and expensive professional lenses.
Conclusion
Learning how to use manual focus on Canon gear will make you a better photographer. It gives you total control over your art. You can shoot in the dark. You can shoot tiny bugs. You can shoot through dirty glass.
Remember to locate the AF/MF switch on the side of your lens barrel. Always push it to MF before you turn the focus ring. Use your large back screen to see better. Zoom in digitally to check the tiny details. If the ring ever feels stuck or gritty, do not force it. Send it to a professional.
Now, pick up your camera. Switch the lens to MF mode. Go practice in your backyard today. You will see how fun and rewarding it truly is.
