
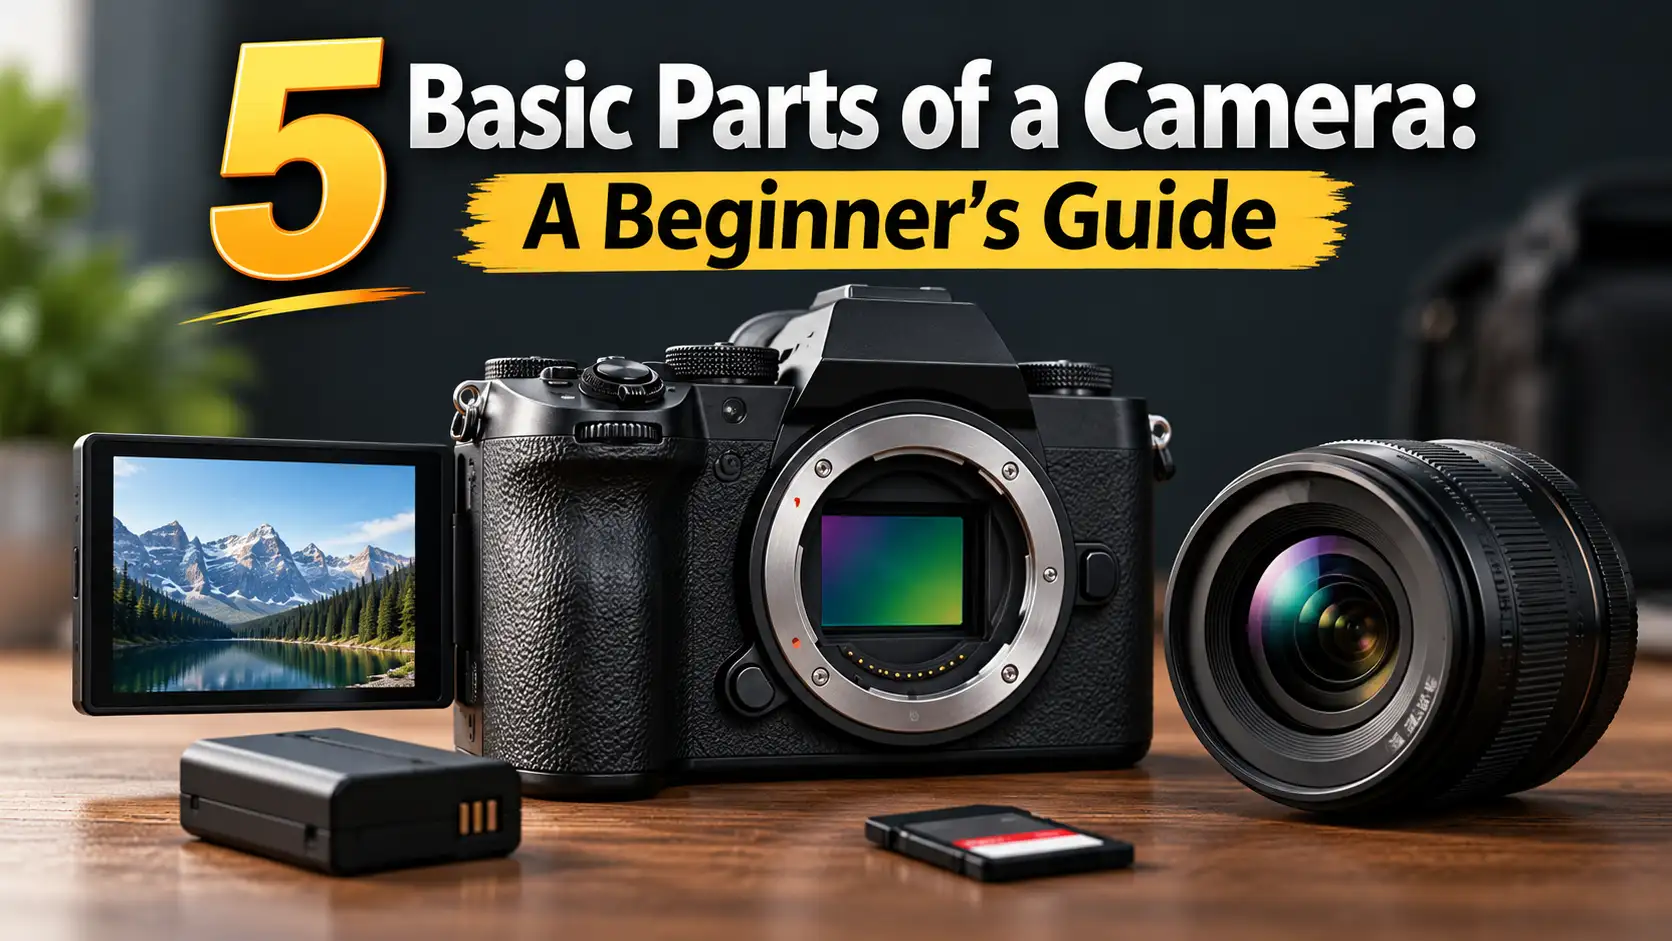
Stepping into the world of photography can feel overwhelming, especially when you are trying to figure out which camera or lens to buy. Whether you are looking at a sleek mirrorless body, a classic DSLR, or a rugged action camera, spec sheets are often filled with confusing jargon. Understanding the basic parts of a camera is the first step to making a smart, confident buying decision.
As a gear editor and longtime photographer, I know firsthand how easy it is to get lost in the marketing hype. Knowing how a camera actually works helps you cut through the noise, allowing you to choose equipment that truly fits your shooting style and budget. In this guide, we will break down the essential components of a camera, explain what they do in plain English, and show you exactly what to look for before you spend your hard-earned money.
Quick Answer
The basic parts of a camera include the lens, image sensor, shutter, aperture, and viewfinder. The lens gathers and focuses light, the aperture controls light volume, and the shutter determines exposure time. The sensor then records this captured light to create your image, while the viewfinder helps you frame the shot.

The Core Components of Every Camera
Every camera, from your smartphone to a high-end professional mirrorless body, relies on the same fundamental principles of capturing light. Here is a detailed breakdown of the primary parts you need to know.
The Lens
The lens is arguably the most critical piece of your photography kit. It is a precisely engineered tube containing multiple pieces of curved glass, known as elements.
The primary job of the lens is to gather light from your scene and focus it onto the image sensor. When buying a camera, you will encounter two main types of lenses:
-
Prime Lenses: These have a fixed focal length (like 50mm). They cannot zoom, but they typically offer sharper images and better low-light performance.
-
Zoom Lenses: These offer a range of focal lengths (like 24-70mm), giving you versatility for framing different subjects without moving your feet.
Buyer’s tip: Many professionals argue that you should invest more money in high-quality lenses than in the camera body itself. A great lens on an average camera will almost always produce better results than an average lens on a great camera.
The Image Sensor (or Film)
Once light passes through the lens, it hits the image sensor (or photographic film, in analog cameras). The sensor is a digital chip covered in millions of light-sensitive pixels.
When choosing a camera, the physical size of the sensor matters much more than the megapixel count. Larger sensors gather more light, which directly translates to better image quality, less digital noise in dark environments, and better dynamic range. For example, according to the DxOMark camera sensor testing methodology, overall image quality and low-light performance depend heavily on the physical surface area of the sensor rather than just packing more megapixels onto a small chip.
The most common sensor sizes you will encounter are:
-
Full-Frame: The gold standard for professionals. Excellent in low light but usually expensive and bulky.
-
APS-C (Crop Sensor): A fantastic middle ground for hobbyists. More affordable and compact, while still delivering professional-grade image quality.
-
Micro Four Thirds: Smaller still, making for highly portable camera systems, popular among travel photographers and vloggers.
The Shutter
The shutter is a mechanical or electronic curtain that sits right in front of the image sensor. It acts as a gatekeeper, determining exactly how long the sensor is exposed to light.
When you press the shutter button, this curtain opens and closes. The speed at which it does this is called shutter speed.
-
Fast shutter speeds (like 1/1000th of a second) freeze fast-moving action, like sports or wildlife.
-
Slow shutter speeds (like 2 seconds) let in more light for night photography but will blur any motion in the frame.
Warning: Mechanical shutters have a limited lifespan, usually rated for 100,000 to 300,000 “actuations” (clicks). If you are buying a used DSLR or mirrorless camera, always ask for the current shutter count to gauge how heavily the camera was used.
The Aperture
While the shutter controls how long light enters the camera, the aperture controls how much light enters at once.
Located inside the lens, the aperture is an adjustable opening made of overlapping metal blades. It functions much like the pupil of your eye, widening in dark environments and shrinking in bright sunlight. Aperture is measured in “f-stops” (e.g., f/1.8, f/4, f/11).
-
A low f-stop number (f/1.4 or f/1.8): Opens the aperture wide. This lets in a lot of light and creates a shallow depth of field, giving you that beautiful, blurred background (bokeh) behind your subject.
-
A high f-stop number (f/8 or f/16): Closes the aperture down. This restricts light but keeps everything from the foreground to the background in sharp focus, making it ideal for landscapes.
The Viewfinder
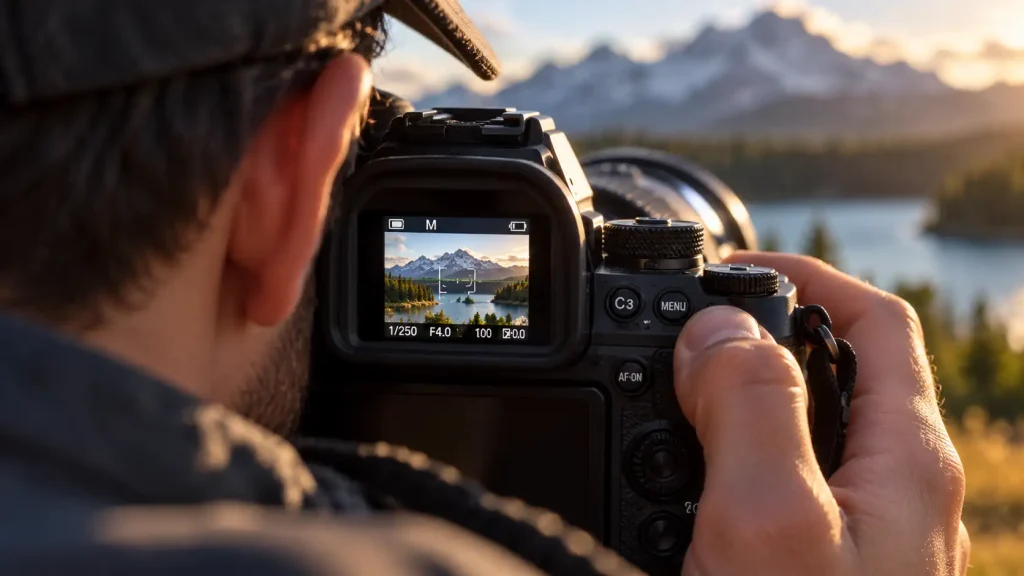
The viewfinder is the window on the back of the camera that you look through to compose and frame your shot.
-
Optical Viewfinders (OVF): Found on traditional DSLRs. They use a complex system of mirrors and prisms to bounce the actual light coming through the lens directly into your eye. You see exactly what is in front of you, with zero lag.
-
Electronic Viewfinders (EVF): Found on modern mirrorless cameras. They are essentially tiny, high-resolution digital screens. The massive advantage of an EVF is that it shows you a live preview of your final image, reflecting your exposure and color settings before you take the shot.
Maintaining Your Camera Components
Camera gear is a significant investment. Keeping the basic parts of a camera clean and well-maintained ensures your equipment lasts for years and retains its resale value.
Signs of Wear and Tear
Whether you are inspecting your own gear or evaluating a used camera purchase, watch out for these common warning signs:
-
Sensor Dust: If you notice dark, blurry spots in the exact same location on all your photos (especially visible when shooting clear blue skies at f/11 or higher), your image sensor has dust on it.
-
Lens Fungus: If you store your lenses in damp, dark environments, moisture can get trapped inside the glass elements. This looks like web-like, cloudy growth inside the lens and permanently degrades image sharpness.
-
Degraded Battery: Over time, lithium-ion batteries lose their ability to hold a charge. If your camera dies quickly in cold weather, it is time for a replacement. Always verify battery life expectations against CIPA (Camera & Imaging Products Association) guidelines to see if your battery is underperforming.
Expert Tips:
Always change your lenses with the camera pointing down. Dust naturally falls downward. By pointing the camera mount toward the floor when swapping lenses, you significantly reduce the risk of dust and debris landing directly on your sensitive image sensor.
When to Get Professional Help or a Second Opinion
While basic camera maintenance is easy to do at home, some components are too delicate for DIY repairs. Knowing your limits can save you from destroying an expensive camera body.
Do it yourself:
-
Wiping down the exterior camera body with a microfiber cloth.
-
Cleaning the front and rear glass elements of your lens with proper lens fluid.
-
Using a manual air blower to puff loose dust off the image sensor.
Take it to a professional:
-
Wet-cleaning a heavily soiled sensor: The image sensor is incredibly fragile and easily scratched. If a manual air blower doesn’t remove the dust, take it to an authorized service center. A scratched sensor usually requires replacing the entire motherboard.
-
Lens calibration issues: If your lens consistently focuses slightly in front of or behind your subject, it may need internal calibration.
-
Fungus removal: Opening a lens requires specialized tools and a dust-free cleanroom. Never attempt to dismantle a lens at home.
Helpful Parts and Maintenance Checklist
Use this quick reference table to understand how each camera part impacts your daily shooting and how to keep it safe.
| Camera Part | Impact on Your Photography | Primary Maintenance Tip |
| Lens | Determines sharpness, zoom range, and overall clarity. | Keep a clear UV filter on the front to protect the glass from accidental scratches. |
| Image Sensor | Dictates resolution, low-light capability, and dynamic range. | Never touch the sensor with your bare fingers. Use an air blower to remove loose dust. |
| Shutter | Freezes motion or creates deliberate motion blur. | Avoid leaving the camera pointed directly at the sun, as focused light can burn the shutter curtain. |
| Aperture | Controls depth of field (blurry vs. sharp backgrounds). | Store lenses in a dry environment to prevent the mechanical aperture blades from sticking. |
| Viewfinder | Allows you to comfortably frame and compose the shot. | Adjust the diopter dial next to the viewfinder so the digital text matches your eyesight. |
Common Mistakes Camera Buyers Should Avoid
Buying your first camera is exciting, but it is easy to make mistakes that cost you money and cause frustration.
-
Blowing the whole budget on the camera body: Camera bodies become outdated in a few years, but good glass lasts a lifetime. Budget for at least one high-quality lens alongside your camera purchase.
-
Obsessing over megapixels: A 24-megapixel full-frame sensor will almost always outperform a 40-megapixel compact camera sensor. Look at sensor size before megapixel count.
-
Ignoring ergonomics: A camera can have the best specs in the world, but if it feels too heavy, too small, or unbalanced in your hands, you will likely leave it at home. Go to a store and hold the camera before buying.
-
Overlooking the cost of accessories: Don’t forget that you will need to buy fast SD memory cards, spare batteries, a camera bag, and a sturdy tripod. Factor these into your initial budget.
FAQs
What is the most important part of a camera?
While all parts work together, the lens and the image sensor are the most critical components for determining final image quality. A high-quality lens paired with a large sensor will deliver sharp, detailed, and vibrant photographs.
What is the difference between an optical and electronic viewfinder?
An optical viewfinder (OVF) uses mirrors to show you the actual, analog light passing through the lens. An electronic viewfinder (EVF) uses a tiny digital screen to show you a live video feed directly from the image sensor, allowing you to preview exposure changes in real-time.
Does a beginner need a full-frame camera?
No. Modern APS-C (crop sensor) and Micro Four Thirds cameras offer phenomenal image quality that is more than sufficient for beginners and even many working professionals. They are also lighter and significantly more affordable.
Can I change the aperture on any camera?
You can change the aperture on any camera that offers manual controls or aperture priority mode (like DSLRs and mirrorless cameras). However, basic point-and-shoot cameras and most smartphones have a fixed aperture that cannot be physically adjusted.
How do I know if my camera shutter is failing?
Signs of a failing mechanical shutter include inconsistent exposures (randomly dark or bright photos), an unusual grinding sound when taking a picture, or seeing a dark black band across the top or bottom of your images.
Conclusion
Understanding the basic parts of a camera takes the guesswork out of buying photography gear. Once you know how the lens, image sensor, shutter, aperture, and viewfinder work together, you can confidently read spec sheets and choose the equipment that fits your creative vision. Remember to balance your budget between a capable camera body and high-quality lenses, and always treat your delicate internal components with care.
Ready to build your perfect camera kit? Start by determining your budget, deciding between a mirrorless or DSLR system, and making a shortlist of lenses that match the type of photography you want to pursue.

1 thought on “5 Basic Parts of a Camera: A Beginner’s Guide”