
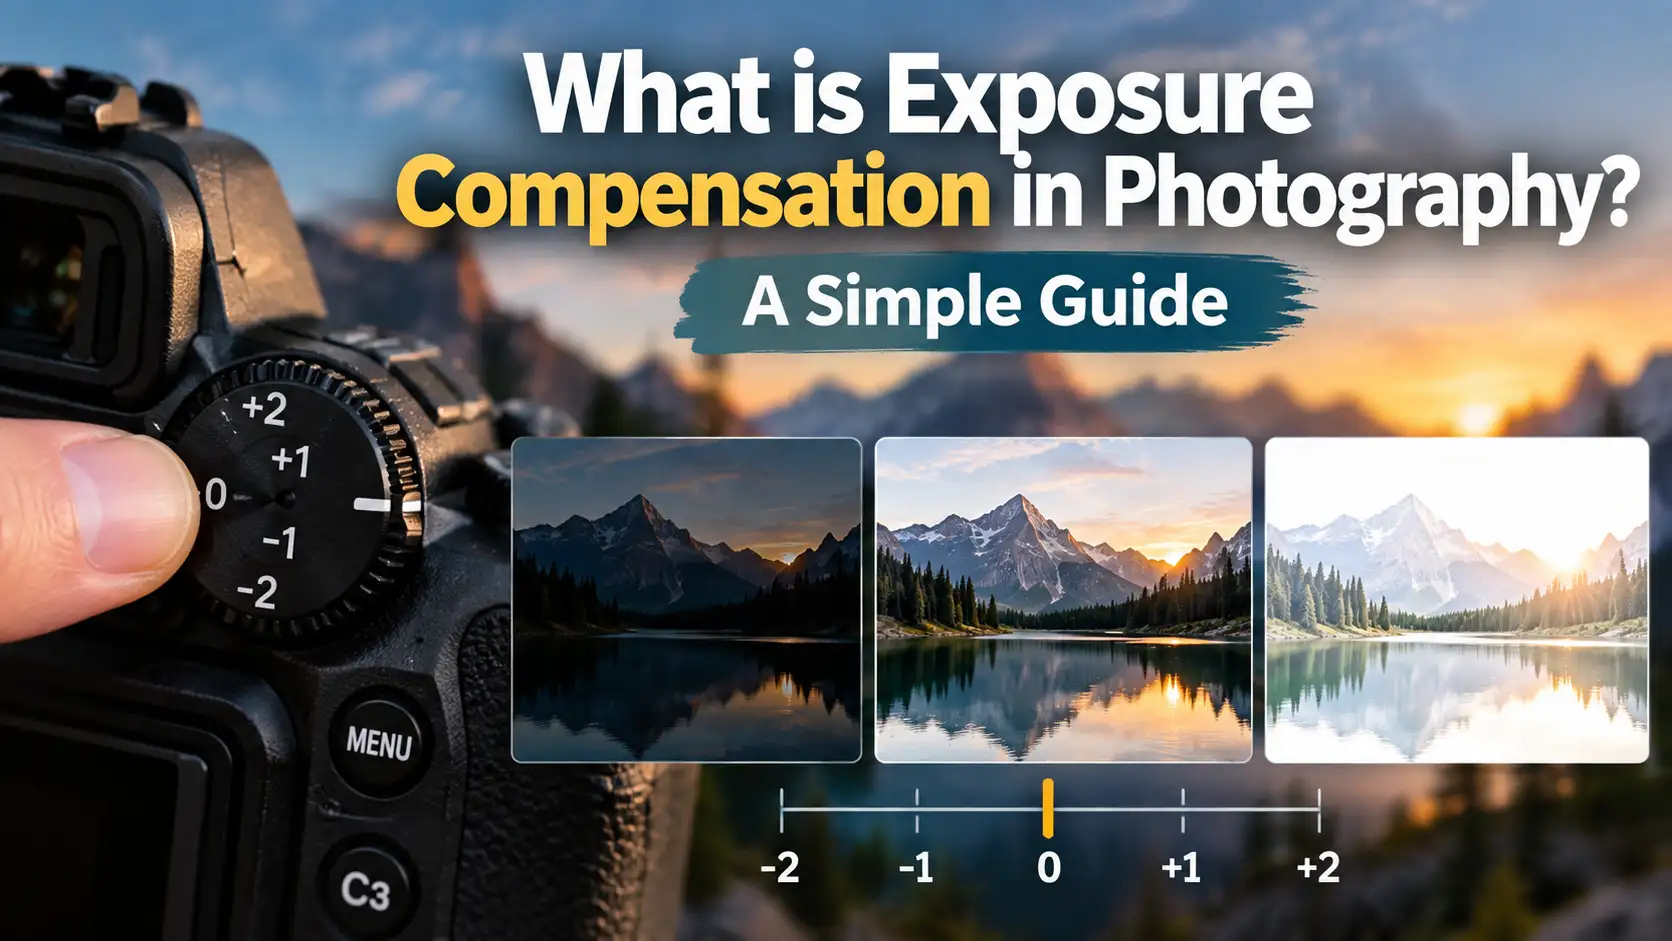
Have you ever taken a photo, but it looks too dark? Or maybe it looks too bright? This is a very common problem. You might ask, what is exposure compensation in photography? It is a great tool on your camera. It fixes bright or dark photos fast. In this guide, I will show you how this works. You will learn to use it well. We will look at phones and big cameras. Let us make your photos look great today.
Quick Answer
What is exposure compensation in photography? It is a camera setting that lets you manually make a photo brighter or darker. You use it when the camera guesses the wrong light level. A plus sign (+) adds light. A minus sign (-) takes light away. It gives you fast control over your image.
How Your Camera Reads Light
To understand this tool, you must know how your camera thinks. Your camera has a light meter inside. It measures the light in your scene. It wants to make the photo look balanced. It tries to make the whole scene look like a medium gray tone.
Most times, the camera does a great job. Green grass looks good. Blue skies look good. But sometimes, the camera gets confused. It fails when it sees too much white. It also fails when it sees too much black.
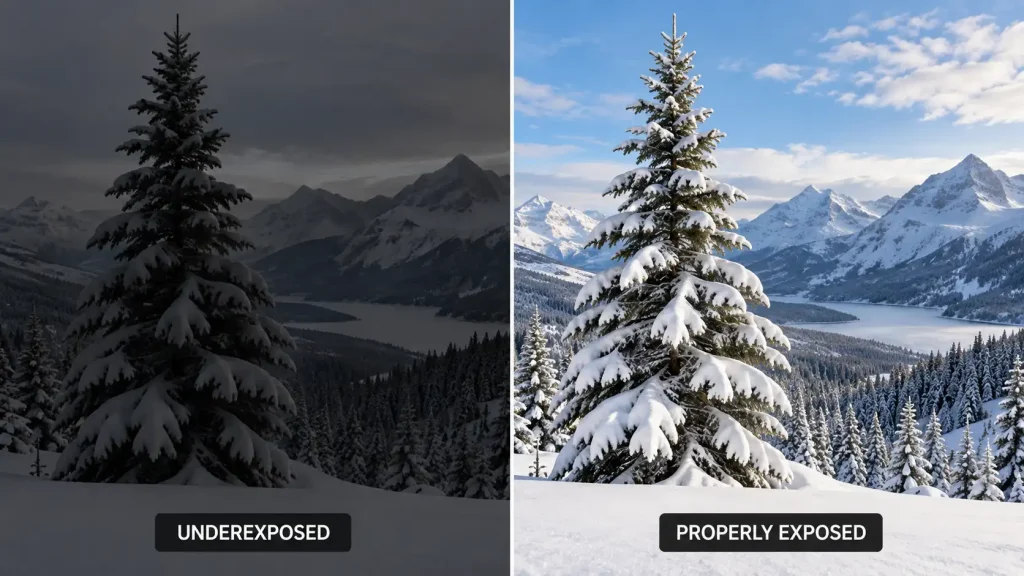
Think about a snowy field. The camera sees all that bright white snow. It thinks the world is far too bright. So, it makes the photo dark. The white snow looks dull and gray. This ruins the shot.
Now think of a black cat on a black rug. The camera sees all that dark space. It thinks the world is too dark. So, it adds too much light. The black cat looks gray and washed out.
Taking Back Control
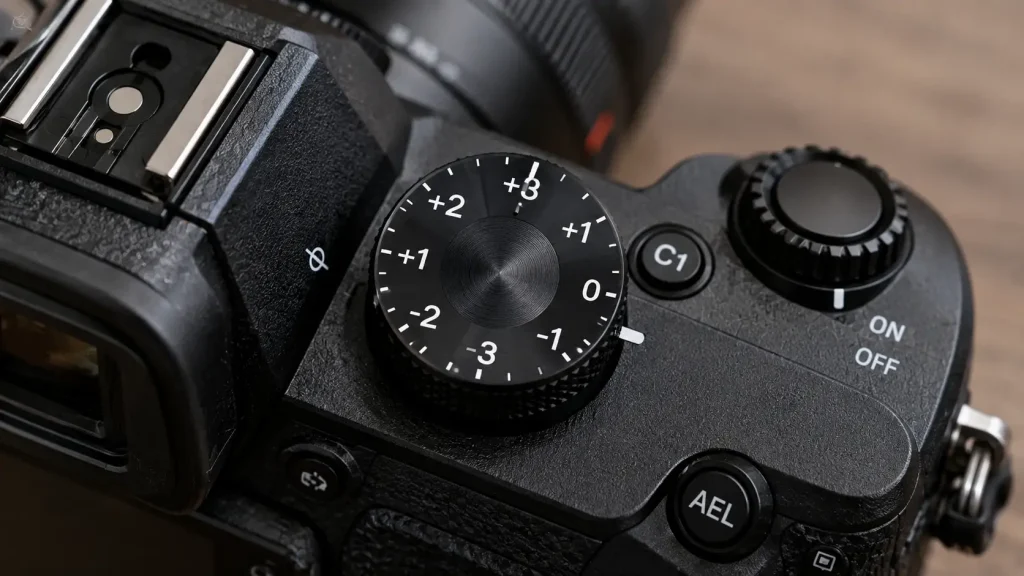
This is when you step in to fix the shot. You tell the camera it is wrong. You use the plus and minus dial. This is the core of what is exposure compensation in photography camera bodies today. You force the camera to change its mind. You add light to make the snow bright white again. You subtract light to make the cat deep black again.
For more technical background on how light meters work, you can read the CIPA digital camera guidelines on standard test methods. They explain the exact rules cameras use to test light.
Finding the Setting on Your Gear
Every brand puts this tool in a slightly different spot. Let us look at how to find it on your specific device.
What is Exposure Compensation in Photography Canon?
Canon cameras make this very simple. Look at the top of your camera. Find a small button with a plus and minus sign (+/-). Press and hold this button down. Now, spin the main dial near your shutter button. Look at the screen on the back. You will see a small meter move. Move it to the right to add light. Move it to the left to make it dark.
What is Exposure Compensation in Photography Nikon?
Nikon bodies work almost the same way. Find the small (+/-) button near the shutter release. It is on the top right. Press and hold this button. Next, spin the thumb dial on the back of the camera. Look at your screen or in the viewfinder. You will see the light meter shift. Stop spinning when the light looks good to you. You can check the Nikon official support page to see diagrams for your specific model.
What is Exposure Compensation in Photography iPhone?
You can do this on your smart phone, too. It is very fast. Open your phone camera app. Tap the screen where you want to focus. A small yellow box will appear. You will see a tiny sun icon next to it. Slide the sun up to make the photo bright. Slide the sun down to make the photo dark. This swipe trick works in almost any what is exposure compensation in photography app on modern phones.
Exposure Compensation Examples
It helps to see this in the real world. Let us look at some clear exposure compensation examples. These are very common issues.
Example 1: The Bright Beach
The sun is high. The sand is white. Your camera makes the photo way too dark. The sand looks gray.
The Fix: Set your dial to +1 or +2. This adds light back in. The sand will look bright white again.
Example 2: A Dark Concert Stage
The singer wears black. The background is pitch black. A bright spot light hits the singer. The camera tries to make the black background gray. This blows out the singer’s face. The face turns into a white blob.
The Fix: Set your dial to -1 or -2. This darkens the whole shot. The background stays deep black. The singer’s face looks perfect.
Example 3: A Window Portrait
Your friend stands inside. They stand in front of a bright window. You take a shot. Their face is a dark shadow. The camera tried to make the bright window dark.
The Fix: Dial in +1 or +1.5. Their face will light up so you can see their eyes. The window will get very bright, but the portrait will look great. This is a classic what is exposure compensation in photography example for beginners.
How It Works in Different Modes
Your camera dial changes different things based on the mode you use.
Aperture Priority Mode (A or Av)
In this mode, you pick the blur (aperture). The camera picks the speed (shutter). When you use the plus dial, the camera slows the shutter speed down. This lets more light in.
Warning: Watch your speed. If the shutter gets too slow, your photo will blur from hand shake.
Shutter Priority Mode (S or Tv)
Here, you pick the speed. The camera picks the blur (aperture). When you use the plus dial, the camera opens the lens wider. This lets more light in.
Warning: If the lens is already fully wide open, the dial will not work. You will hit a limit.
Exposure Compensation in Manual Mode
Can you use this in pure manual mode? Yes and no. In pure manual mode, you set the speed. You set the aperture. You set the ISO. The dial will not change these for you. It just shows you a meter.
But, if you turn on Auto ISO, things change. You pick the speed and blur. The camera picks the ISO. Here, exposure compensation in manual mode works great. You turn the dial. The camera changes the ISO to make the photo brighter or darker.
Helpful Table: When to Add or Subtract Light
Use this quick chart to know when to turn your dial up or down.
| Your Scene | Camera Mistake | Your Fix |
| Snowy field | Photo is too dark | Add +1 to +2 |
| Dark night street | Photo is too bright | Subtract -1 to -2 |
| Subject against bright sky | Subject is a dark shadow | Add +1 to +2 |
| Spot lit stage | Face is totally white | Subtract -1 to -2 |
| Bright white wall | Wall looks dirty gray | Add +1 |
| Black car on dark road | Car looks washed out gray | Subtract -1 |
Using the Histogram
You do not have to guess if your photo is too dark. Your camera has a graph. It is called a histogram. It shows you the light data.
The left side of the graph is black shadows. The right side is pure white highlights. The middle is gray tones.
If the graph pushes too far left, the photo is too dark. Turn your dial to the plus side. If the graph pushes too far right, the photo is too bright. Turn your dial to the minus side. Learning to read this graph is a huge step for any photographer. The experts at DxOMark camera testing use strict data like this to judge image sensors.
Expert Tip:
Always reset your dial back to zero when you are done shooting. If you leave it at +2, your next photos will be ruined. Get in the habit of checking the dial every time you turn the camera on.
When to Get Professional Help or a Second Opinion
Sometimes, your camera acts up. You might spin the dial, but nothing changes. The photos stay dark. What should you do?
First, make sure you are not in fully automatic mode. The green auto box mode locks you out. It turns the dial off. Switch to Program (P), Aperture (A), or Shutter (S) mode. Try the dial again.
If the dial is physically stuck, stop. Do not force it. Do not spray oil or cleaners into the dial gap. This will ruin the camera brain.
If the light meter jumps around wildly, your sensor might be hurt. Pointing a camera at a laser show can burn the meter.
In my experience, if a hard reset does not fix it, seek help. Go to a brand-approved service center. They have the right tools. Opening a camera body yourself is a very bad idea. You will shock yourself. You will also void your warranty. Let the pros fix internal parts.
Common Mistakes Camera Buyers Should Avoid
Here are a few bad habits you should try to avoid.
-
Forgetting to Reset: This is the biggest error. You shoot in the snow at +2. You go inside for a birthday party. You forget the dial. All the party photos are blasted white. Always check your dial.
-
Using it in the Pitch Dark: This dial does not make light out of thin air. If you are in a totally dark room, adding +3 will not help. You will just get a blurry, noisy mess. You need a flash for real darkness.
-
Ignoring the Shutter Speed: When you add light in Aperture mode, the shutter slows down. If it goes below 1/60th of a second, your hands will shake the camera. The photo will blur. Watch the numbers on your screen.
-
Expecting Auto to Work: As I noted before, pure Auto mode shuts this dial down. You must step up to Program (P) mode at the very least to take control.
FAQs
What does the +/- button do on a camera?
It lets you manually change the brightness of your photo. Plus makes it brighter. Minus makes it darker. It overrides the camera brain.
Can I use exposure compensation with a flash?
Yes, but they are different. The main dial changes the whole scene. Flash exposure compensation changes only the power of the flash bulb itself. You can use both together.
Why is my exposure compensation dial not working?
You might be in full Auto mode. Turn the main mode dial to P, A, or S. The green Auto mode locks the compensation dial out completely.
Does it change image quality?
It can. If you push it too high, you can lose details in the bright spots. If you push it too low, shadows get noisy and grainy. Use just enough to fix the scene.
How much compensation is normal for snow?
Usually, you need between +1 and +2 stops of light for snow. Start at +1. Take a test shot. If it is still gray, move it up to +1.5 or +2.
Does it work on mirrorless cameras?
Yes. Mirrorless cameras are great for this. Because they use a digital screen, you can see the brightness change in real time before you click the shutter.
What is a “stop” of light?
A stop is a unit of light. Adding one stop (+1) doubles the amount of light hitting the sensor. Subtracting one stop (-1) cuts the light in half.
Conclusion
Understanding what is exposure compensation in photography will change how you shoot. It is the fastest way to fix a bad photo. Remember, cameras are smart, but they get confused by extreme white and black. You must step in. Use the plus side to make things brighter. Use the minus side to keep things dark.
Practice with this dial today. Go outside and point your lens at something white. See how the camera messes up. Then, fix it yourself. Do not forget to reset the dial to zero when you finish! If you want to take better photos fast, master this one simple button. Happy shooting, and enjoy your new camera skills.
