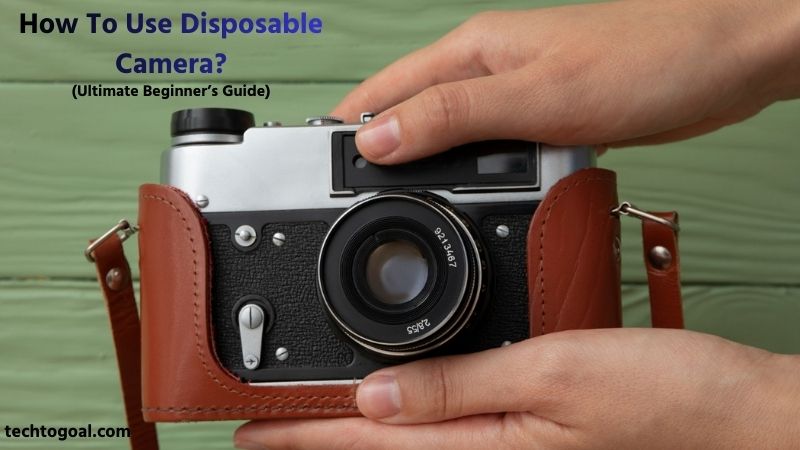
How To Use Disposable Camera: In a world dominated by smartphones and digital cameras, disposable cameras have made a surprising comeback. Loved for their simplicity, nostalgic charm, and authentic film look, disposable cameras are now popular among beginners, travelers, and photography enthusiasts alike. If you’ve never used one before, you might wonder how a disposable camera works and how to get the best results from it.
This ultimate beginner’s guide on how to use a disposable camera will walk you through everything you need to know, from understanding its basic features to capturing great photos and developing your film. Whether you’re documenting a special event, going on a trip, or simply exploring film photography for the first time, this guide will help you use a disposable camera with confidence and creativity.
How Do Disposable Cameras Work?
A disposable camera works by using a roll of film that is already loaded inside the camera body at the factory. Unlike digital cameras, it does not use batteries to store images digitally; instead, light enters through a fixed-focus lens and exposes the film when you press the shutter button.
📌Read More👉Benefits of a Properly Wired Backup Camera
The camera has preset settings for aperture, shutter speed, and focus, so you don’t need to adjust anything manually. Each time you take a photo, the film advances to the next frame using the built-in film advance wheel.
Once all exposures are used, the entire camera is taken to a photo lab for film development, where the images are processed and printed or scanned. This straightforward process is what makes disposable cameras easy to use and ideal for capturing spontaneous moments.
How to Use a Disposable Camera: Step by Step
Using a disposable camera is easy, but following the correct steps will help you capture clearer, well-exposed photos.
Step 1: Check the Camera and Film Counter
When you first get a disposable camera, look for the film counter on the top or back. This number shows how many photos you can take, usually between 24 and 27 exposures. Make sure the counter is not already at zero, which would mean the film has been used. Knowing how many shots you have encourages thoughtful photography and helps you avoid wasting frames.
Step 2: Understand the Flash Function
Most disposable cameras include a built-in flash that must be turned on manually. The flash button is usually on the front of the camera. Use the flash indoors, at night, or in shaded areas to ensure your photos are bright enough. After pressing the flash button, wait a few seconds for it to charge before taking the photo, as shooting too quickly can result in dark images.
Step 3: Hold the Camera Properly
Hold the camera with both hands and keep it as steady as possible. Disposable cameras have fixed shutter speeds, which means any movement during the shot can cause blur. Keeping your elbows close to your body and standing still will help you capture sharper photos, especially in low-light situations.
Step 4: Frame Your Shot Correctly
Look through the viewfinder to compose your photo. Disposable cameras have a fixed-focus lens, so they work best when your subject is about 4 to 10 feet away. Make sure your fingers are not covering the lens or flash, as this can block light and ruin the image. Center your subject for the best results.
Step 5: Press the Shutter Button Smoothly
Once your shot is framed, gently press the shutter button. Avoid pressing too hard or too quickly, as this can shake the camera and blur the photo. A smooth, steady press helps expose the film correctly.
Step 6: Advance the Film After Each Shot
After taking a photo, turn the film advance wheel until it stops. This moves the film to the next frame and prepares the camera for the next shot. Forgetting to advance the film can cause double exposures or missed photos.
Step 7: Use the Camera in Good Lighting
Disposable cameras perform best in bright daylight. Outdoor shots in natural light usually produce the clearest and sharpest images. While the flash helps in low light, avoiding very dark environments will significantly improve photo quality.
Step 8: Finish the Roll and Develop the Film
Continue taking photos until the film counter reaches zero. Once all exposures are used, do not open the camera, as this will expose the film to light and ruin your photos. Bring the complete camera to a photo lab so that your photos may be converted into digital scans or copies.
By following these steps, beginners can confidently use a disposable camera and enjoy the unique, nostalgic charm of film photography.
Tips for Using a Disposable Film Camera
Disposable film cameras are simple, fun, and full of character, but getting good results requires understanding their strengths and limitations.
Master the Flash (Crucial for Most Shots): The built-in flash on a disposable camera is more important than many beginners realize. These cameras have small lenses and slow film, which means they struggle in low-light conditions. Use the flash indoors, at night, or even outdoors in shaded areas. Always wait a few seconds for the flash to fully charge before taking the photo to ensure proper exposure and brighter results.
Understand the Limitations (Embrace the Imperfections): Disposable cameras have fixed focus, fixed aperture, and limited control over settings. This means you won’t get razor-sharp images or perfect exposure every time, and that’s okay. Embracing grain, light leaks, and imperfect framing is part of the film photography experience. These limitations often create photos with a nostalgic, authentic feel that digital cameras can’t replicate.
Hold Steady & Watch Your Fingers: Because disposable cameras use slower shutter speeds, camera shake is a common problem. Hold the camera with both hands and keep your elbows close to your body when taking a shot. Also, be mindful of your fingers Accidentally covering the lens or flash is one of the most common mistakes and can result in dark or partially blocked images.
Compose Carefully (But Don’t Overthink It): Disposable cameras work best when your subject is centered and about 4 to 10 feet away. Take a moment to frame your shot through the viewfinder, but don’t overthink composition. Film photography is about capturing moments naturally, so trust your instincts and enjoy the process rather than aiming for perfection.
Always Advance the Film: After each shot, make sure to turn the film advance wheel until it stops. This moves the film to the next frame and prepares the camera for the next photo. Forgetting to advance the film can cause double exposures or result in lost images, which can be disappointing after development.
Consider the Lighting: Lighting plays a major role in disposable camera photography. Bright daylight produces the best results, especially outdoors. Avoid shooting in very dark environments without flash, as photos may turn out underexposed. When possible, position your subject facing the light to achieve clearer and more balanced images.
Don’t Over-Develop (Literally): Once you’ve finished the roll, get the film developed in a timely manner, but don’t worry about rushing it immediately. However, avoid leaving the camera in extreme heat or direct sunlight for long periods, as this can damage the film. Choosing a reliable photo lab ensures proper development and better-quality prints or scans.
Manage Expectations: Disposable cameras are not designed to produce professional-quality photos. Some images may be blurry, grainy, or unevenly exposed. Managing your expectations will help you appreciate the results for what they are: fun, candid, and full of personality. Often, the most memorable photos are the imperfect ones.
By following these tips, you’ll get the most out of your disposable film camera and enjoy a creative, stress-free photography experience.
How to Get Digital Pictures from a Disposable Camera
Turning your disposable camera photos into digital files is easier than you might think.
1. Develop the Film: The first step is to take your disposable camera to a photo lab or film processing service. The lab will carefully remove the film from the camera and develop it, producing either prints, negatives, or both. Developing the film is essential, as it transforms the exposed images on the film into visible photographs. Make sure to choose a lab that handles disposable cameras specifically, as some methods are optimized to preserve image quality.
2. Receive Your Digital Photos: Many photo labs now offer digital scanning alongside traditional prints. When you have your film developed, ask the lab to scan each frame and provide the images in digital format. Labs may provide digital files on a CD, USB drive, or through a cloud download link. This step allows you to access your photos on your computer, social media, or other digital platforms.
3. Optional: Scan Prints (If You Only Received Prints): If the lab only gives you physical prints and not digital files, you can still convert your photos to digital format. Digitize each print using a flatbed scanner or a professional picture scanning service. Make sure to scan at a high resolution to preserve image quality. This is a great option if you want both tangible prints and digital copies for sharing or editing.
4. Transfer to Your Phone: Once you have your digital files, you can easily transfer them to your smartphone. Use a USB cable, cloud storage service, or wireless file transfer app to move the images. This lets you view, edit, and share your disposable camera photos instantly on social media, messaging apps, or photo-editing software.
By following these steps, you can enjoy the nostalgic charm of disposable camera photography in the convenience of a digital format.
How to Scan Disposable Camera Film
Scanning disposable camera film allows you to convert your analog photos into digital files for easy sharing, editing, and storage.
📌Read More👉How to Choose the best doorbell camera In 2026
Develop the Film First
Before scanning, your disposable camera film must be developed at a photo lab. The lab processes the film and provides either negatives or prints. Developing the film is crucial because unprocessed film is sensitive to light and cannot be scanned. Once developed, you can move on to digitizing your images.
Use a Film Scanner
To get the best quality digital images, use a dedicated film scanner. Place the developed negatives in the scanner according to the manufacturer’s instructions. Film scanners capture each frame at high resolution and preserve the details, color, and texture unique to film photography. This method produces professional-quality digital files directly from the negatives.
Scan Prints if Needed
If you only have physical prints from your disposable camera, you can still digitize them. Use a flatbed scanner designed for photos, scanning each print at a high resolution (at least 300 dpi). This option is convenient if you don’t have access to negatives or a film scanner, though the image quality may be slightly lower than scanning negatives.
Save and Organize Digital Files
After scanning, save your digital images in a common format such as JPEG or PNG. Organize your files in folders by date, event, or subject to make them easier to access later. Proper organization ensures that your disposable camera photos are easy to share online or edit in photo software.
Optional: Edit and Enhance
Once your images are scanned, you can use photo-editing software to adjust brightness, contrast, or remove minor imperfections. This step is optional but can help enhance the nostalgic charm of disposable camera photos while making them suitable for digital use.
By following these steps, you can successfully scan disposable camera film and enjoy your analog photography in a digital format, preserving your memories for years to come.
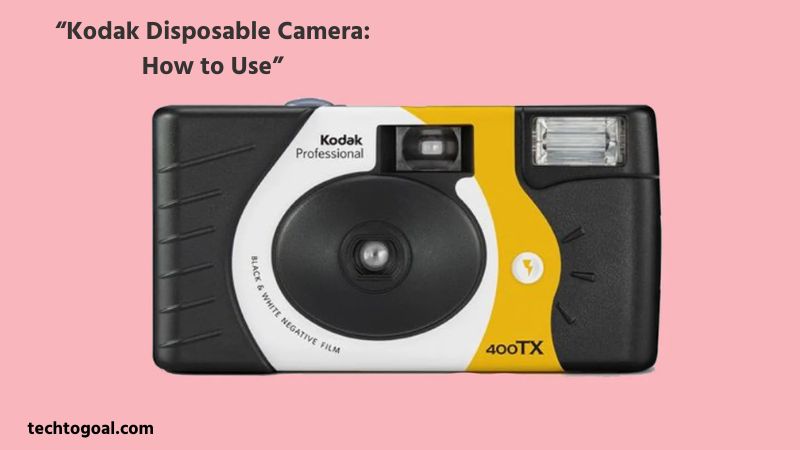
Kodak Disposable Camera: How to Use
Using a Kodak disposable camera is simple, even for beginners, but following the correct steps ensures the best possible results.
- Step 1: Check the Film Counter Before taking any photos, locate the film counter on the top or back of your Kodak disposable camera. This counter tells you how many exposures are left, usually between 24 and 27 shots. Ensuring your camera has available frames helps you plan your photography and avoid wasting shots.
- Step 2: Turn On the Flash (If Needed) Kodak disposable cameras come with a built-in flash that must be activated manually. Press the flash button on the front if you are shooting indoors, at night, or in low-light conditions. Allow a few seconds for the flash to charge before taking the shot to ensure your photos are bright and properly exposed.
- Step 3: Hold the Camera Steady To reduce blur, hold the camera firmly with both hands and keep your elbows close to your body. Disposable cameras have fixed shutter speeds and are more sensitive to movement, so steady hands help produce sharper images.
- Step 4: Frame Your Shot Look through the viewfinder to compose your picture. Kodak disposable cameras have a fixed-focus lens, which works best for subjects about 4 to 10 feet away. Keep fingers away from the lens or flash to avoid blocking light, and try to center your subject for balanced composition.
- Step 5: Press the Shutter Button Smoothly Once your shot is ready, press the shutter button gently. Avoid pressing too hard or quickly, as this can shake the camera and blur the image. A smooth, controlled press ensures the film is exposed correctly.
- Step 6: Advance the Film After Each Shot Turn the film advance wheel until it stops after you’ve taken a picture. This moves the film to the next frame, preparing the camera for your next shot. Skipping this step can cause double exposures or lost images.
- Step 7: Continue Shooting Until the Roll is Finished Keep taking photos until the film counter reaches zero. Make sure not to open the camera before finishing the roll, as this would expose the film to light and ruin all the images.
- Step 8: Take the Camera to a Lab for Development Once all exposures are used, bring your Kodak disposable camera to a photo lab for film development. The lab will process your images and provide prints, negatives, or digital scans, allowing you to enjoy your captured moments in tangible or digital form.
Following these steps will help you confidently use your Kodak disposable camera and capture fun, authentic photos every time.
How Do Kodak Disposable Cameras Work
Kodak disposable cameras are designed to make photography simple, affordable, and accessible for everyone. Kodak disposable cameras come with a roll of film already loaded inside, eliminating the need for manual film installation. The camera uses a fixed-focus lens and preset exposure settings, so you don’t have to adjust shutter speed, aperture, or focus.
When you press the shutter button, light enters through the lens and exposes the film, capturing your image frame by frame. After each shot, you advance the film using the built-in wheel to prepare for the next picture.
Once all exposures are used, the entire camera is taken to a photo lab for film development, where the images are processed into prints or digital files. This straightforward design makes Kodak disposable cameras ideal for beginners, casual photographers, and anyone looking to capture authentic, nostalgic film photos without complicated equipment.
How to Open a Kodak Disposable Camera
Kodak disposable cameras are designed for single use and simple operation, so opening them requires care to avoid damaging the film.
- Only Open After Finishing the Roll: Do not attempt to open a Kodak disposable camera before all exposures have been used. Opening the camera prematurely will expose the unprocessed film to light, completely ruining any photos you’ve already taken. Make sure the film counter has reached zero, indicating that the roll is finished.
- Remove the Back Cover at the Photo Lab: Kodak disposable cameras are not designed to be opened at home. Take the entire camera to a professional photo lab after your film is complete. The lab technician will carefully remove the back cover in a darkroom or light-safe environment to extract the film without exposing it.
- Avoid Forcing the Camera Open Yourself: Attempting to pry open the camera at home can damage both the film and the camera casing. This may result in lost images and make the film unusable for development. Trusting a professional ensures your photos are safely processed and scanned or printed.
By following these steps, you can safely handle your Kodak disposable camera and ensure all your memories are properly preserved during development.
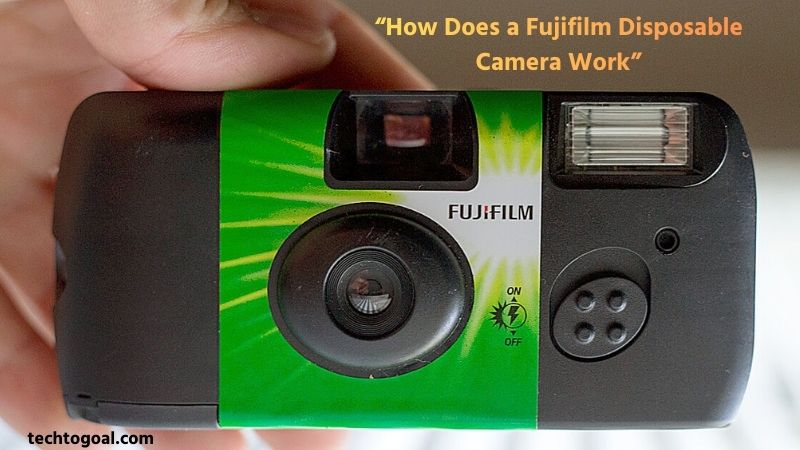
How Does a Fujifilm Disposable Camera Work
Fujifilm disposable cameras are simple, portable, and perfect for capturing spontaneous moments.
Winding the Film
Before taking your first photo, make sure the film is properly advanced. After each shot, turn the film advance wheel until it stops to move the film to the next frame. This ensures that each exposure is on a fresh portion of the film, preventing double exposures or overlapping images. Proper winding is essential for capturing every shot clearly.
Framing and Focusing
Fujifilm disposable cameras have a fixed-focus lens, meaning you don’t need to adjust focus manually. Look through the viewfinder to frame your subject, ideally placing it 4–10 feet away from the camera for the best clarity. While the focus is automatic, composing your shot carefully helps ensure a well-balanced and visually appealing photo.
Taking the Picture
Once your subject is framed, press the shutter button gently to expose the film. Avoid shaking the camera, as movement can blur the image. Each press of the shutter captures one image onto the film, which is then advanced to the next frame. Smooth, deliberate operation ensures the film records the scene properly.
Flash
Fujifilm disposable cameras usually include a built-in flash for low-light situations. Activate the flash when shooting indoors, at night, or in dim lighting. Allow a few seconds for the flash to charge between shots to avoid underexposed images. Using the flash correctly helps brighten your photos and maintain detail in darker areas.
Developing the Film
After using all exposures, the camera should be taken to a photo lab for film development. The lab processes the negatives to produce prints, digital scans, or both. This step is crucial because the images on the film are not visible until developed. Proper development ensures the best color, sharpness, and overall quality.
Key Things to Remember
Always keep the camera steady, avoid exposing the film to light prematurely, and advance the film after each shot. Be mindful of your fingers around the lens and flash, and remember that lighting conditions affect the quality of your photos. Embrace the unique imperfections of film photography; grain, slight blur, and color variation are part of the charm.
Following these steps allows you to use a Fujifilm disposable camera effectively, capturing fun, nostalgic photos with minimal effort.
FAQs
What is a disposable camera?
A throwaway camera is a basic, one-time use camera that comes pre-loaded with film. It allows you to capture photos without worrying about settings like focus, aperture, or shutter speed. Once the film is finished, the entire camera is taken to a lab for development.
How do I take a photo with a disposable camera?
Look through the viewfinder to frame your shot, hold the camera steady, and gently press the shutter button. After each shot, advance the film using the wheel or lever on the camera.
Do I need to focus the camera manually?
No, the majority of disposable cameras—including those made by Fujifilm and Kodak—have fixed-focus lenses. The camera is designed to capture subjects clearly at a typical distance of 4–10 feet.
How many photos can I take with a disposable camera?
Disposable cameras usually come with 24 or 27 exposures, though some special editions may have more. The film counter on the camera shows how many shots are remaining.
Can I reuse a disposable camera?
No, disposable cameras are designed for single use. Once all exposures are used, the camera should be taken to a photo lab for development.
How do I get digital copies of my disposable camera photos?
Bring the camera to a lab for digital scanning. Some labs provide files on a USB drive, CD, or via a cloud download link. You can also scan prints at home using a flatbed scanner.
What makes disposable cameras different from digital cameras?
Disposable cameras capture images on film, creating a nostalgic, analog look. Unlike digital cameras, they do not allow instant review, manual adjustments, or editing on the camera itself, which encourages capturing moments naturally.
Conclusion
Disposable cameras are a simple, fun, and nostalgic way to capture memories, offering a unique charm that digital photography often can’t replicate. They are perfect for beginners, travelers, and anyone who wants to enjoy photography without worrying about complicated settings. By understanding how to use the camera, properly handling the flash, advancing the film, and getting your photos developed or scanned, you can make the most of every shot.
Whether you’re documenting a special event, exploring film photography for the first time, or just enjoying the spontaneous moments in life, disposable cameras provide a creative and carefree way to preserve memories. Embrace the imperfections, enjoy the process, and let each click capture a moment you’ll cherish forever.