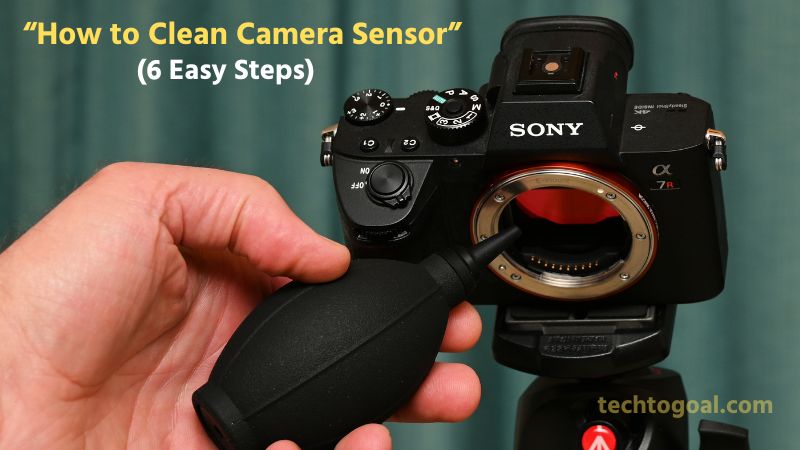
How to Clean Camera Sensor: Keeping your camera sensor clean is essential for capturing sharp, spotless, and professional-quality images. Even the smallest dust particle or smudge on the sensor can ruin a perfect shot, leaving behind noticeable spots and marks, especially in bright or high-aperture photos.
However, cleaning a camera sensor can be intimidating for beginners because it’s one of the most delicate components inside your camera. In this guide, you’ll learn how to clean your camera sensor safely and effectively, using the right tools and trusted techniques used by professionals.
Whether you’re a photographer who frequently changes lenses or someone noticing unexpected dust spots in your images, understanding proper sensor cleaning will help you maintain your camera’s performance and extend its lifespan. Let’s dive into the safest methods to keep your camera sensor spotless without causing any damage.
Understanding Camera Sensors and Their Types
Digital photography relies on camera sensors to transform light into electronic signals. To take beautiful pictures and get the most out of your equipment, you must comprehend its function.
Camera Sensor Types
CCD and CMOS (a thin metallic semiconductor layer separated by an insulator that provides a high contrast between pixels) are the two primary types of camera sensors. These photosensors identify the analog light and the basis for creating digital images. The characteristics utilized in the price tag, performance, and power consumption of the cameras, respectively, are used to distinguish each type of sensor.
CCD (Charge-Coupled Device): For a very long time, CCD sensors have been the most widely utilized in digital cameras. Their wide-range, high-quality images and their highly linear response to light make them stand out from other sensors.
CMOS (complementary metal-oxide-semiconductor) Sensors: CMOS sensors are becoming more and more popular because of their low power consumption, which makes them the perfect option for small devices like digital cameras and smartphones. These sensors are used, for instance, in Reolink security cameras, such as the dual-lens Argus Track, which combines two CMOS sensors.
Role of Camera Sensors in Image Quality
The camera sensor is one of the most important components in any digital camera, playing a direct role in how sharp, clear, and vibrant your photos appear. Acting as the “digital film,” the sensor captures light and converts it into the image you see on your screen. The larger and more advanced the sensor, the better the image quality you can achieve.
📌Read More👉 What is a PoE Camera? Beginner’s Guide to Setup and Use
A high-quality camera sensor enhances image performance in several ways. First, it improves low-light capability, allowing you to shoot brighter, cleaner images even in dim environments. Second, sensors with higher resolution provide greater detail and sharpness, making your photos look crisp and professional.
The sensor also influences dynamic range, which determines how well your camera captures both bright and dark areas in the same frame. A superior sensor ensures that highlights aren’t blown out and shadows retain detail, making your images more balanced and visually appealing.
Essential Preparations Before Cleaning Your Camera Sensor
Before you begin cleaning your camera sensor, proper preparation is crucial. The sensor is one of the most delicate components of your camera, and even a small mistake can cause scratches or permanent damage. To ensure a safe, effective, and hassle-free cleaning process, here are the essential steps you should follow:
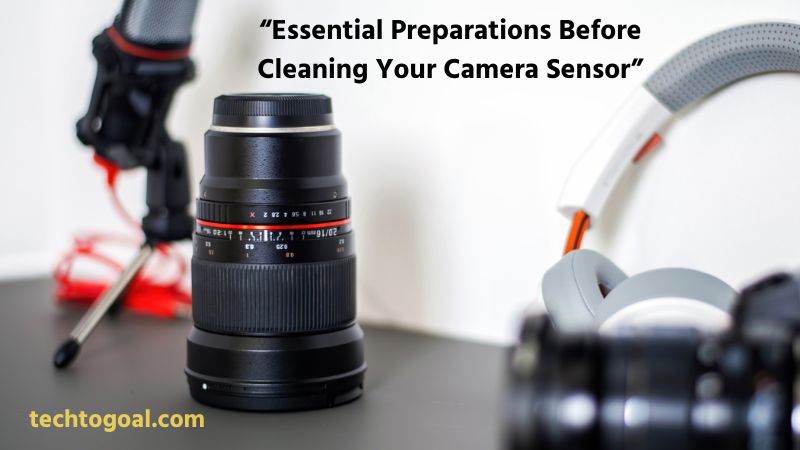
1. Acquire a Reliable Sensor Cleaning Kit: Always start with a trusted and high-quality sensor cleaning kit. Look for tools specifically designed for camera sensors, such as
- Sensor swabs
- Sensor-safe cleaning solution
- Air blower (non-compressed)
- Microfiber cloth
Using the right equipment ensures you clean the sensor without causing streaks, scratches, or unnecessary damage.
2. Create a Clean Environment: Sensor cleaning should be done in a dust-free, clean environment. Avoid outdoor spaces or rooms with airflow, fans, or open windows, as dust can easily settle on the sensor. A clean table, good lighting, and minimal disturbance help you perform the cleaning more precisely and safely.
3. Power Off the Camera: Turning off your camera before cleaning the sensor is an essential step. When powered off, many cameras automatically lock or stabilize the sensor, reducing the risk of damage. For mirrorless cameras, powering off also disables the sensor’s static charge, preventing dust particles from sticking to it.
4. Safety Precautions: Take extra precautions to ensure a safe cleaning process:
- Avoid using compressed air cans; they can release moisture and damage the sensor.
- Never touch the sensor with your fingers.
- Make sure the battery is charged if your camera requires “Sensor Cleaning Mode” to keep the shutter open.
- Handle the camera with clean, dry hands to avoid transferring oils or debris.
By preparing properly, you create the ideal conditions for a safe and effective sensor cleaning session. These steps help protect your camera’s most sensitive component and ensure you achieve clear, dust-free images every time.
How To Clean A Camera Sensor: Step-By-Step Guide
Cleaning your camera sensor doesn’t have to be intimidating. With the right method and tools, you can safely remove dust, smudges, and tiny particles that affect image quality. Follow this step-by-step guide to clean your camera sensor effectively and maintain crystal-clear photos.
📌Read More👉What is a Flock Camera?
Step 1: Choose the Proper Workspace
Start by selecting a clean, dust-free environment. A quiet room with minimal airflow and no fans, open windows, or pets is ideal. Good lighting is important because it helps you see the sensor clearly and avoid accidental damage. A stable table or desk will also give you better control during the cleaning process.
Step 2: Check and Access the Sensor
Turn off your camera before opening it. Remove the lens, and if your camera offers a manual sensor-cleaning mode, activate it to lock the mirror (DSLR) or expose the sensor (mirrorless). Before you begin cleaning, take a test photo of a plain white surface at a small aperture (like f/22) to identify dust spots and assess the condition of your sensor.
Step 3: Use a Blower
Your first cleaning attempt should always be dry cleaning with a manual air blower.
- Hold the camera facing downward.
- Gently squeeze the blower to direct air onto the sensor.
By doing this, loose dust particles can be removed without coming into contact with the sensor. Avoid canned air, as it can release moisture or damage delicate components.
Step 4: Consider Wet Cleaning
If dust remains or if you notice smudges or oil spots, it’s time for wet cleaning. Prepare a sensor swab and sensor-safe cleaning solution. Make sure the swab’s size matches your camera sensor Wet cleaning is more thorough but requires a steady hand and patience.
Step 5: Clean the Sensor
Apply 1–2 drops of cleaning solution to the sensor swab.
- Gently swipe the swab across the sensor from one side to the other in a smooth, controlled motion.
- Flip the swab and repeat once more.
Do not scrub or apply heavy pressure. Proper wet cleaning removes stubborn residue and restores sensor clarity.
Step 6: Repeat the Test
After cleaning, reattach the lens and take another test photo at a low aperture. Compare it with your earlier test shot.
- If the sensor is clean, you’re done.
- If faint dust spots remain, repeat the process using a fresh swab.
Testing ensures your efforts were successful and helps you catch any remaining contamination.
By following these six steps carefully, you can safely clean your camera sensor and maintain optimal image quality. Regular maintenance not only keeps your photos crisp and spotless but also extends the lifespan of your camera.
Things You Will Need
- lint-free cleaning wipes made for the particular sensor size of your camera.
- cleaning agent made specifically for camera sensors.
- Dust can be manually removed with a bulb blower.
- Use a flashlight or headlamp to examine the body and peek inside the camera.
- The sensor loupe is a fantastic low-cost device that functions as a magnifier with LED lights, making it easy to see the sensor and check it for dust and debris.
What Not to Do
When cleaning, even seasoned photographers make blunders. Here are a few crucial things to avoid:
- Avoid using household wipes, tissues, or cotton swabs. These substances may scrape the surface or shed fibers.
- Avoid using your mouth to blow air. The sensor is readily fogged or stained by moisture.
- If the initial cleaning isn’t flawless, don’t panic. Two or three light wipes may be required at times.
- Keep your fingertips away from the sensor. Skin oils are really difficult to get rid of.
How to Dry Clean Your Sensor
- Locate a location with the least amount of wind and dust.
- If you’re using a DSLR, check for the menu option to manually clean your camera if it has a full battery and no lens. If you are unable to locate this option, see your handbook.
- If you’re using a DSLR, you’ll hear the mirror lock back and see the sensor when you choose this mode. Keep in mind that all you have to do to return the mirror to its customary position in front of the camera is turn off your camera.
- When you remove your lens or body cover from a mirrorless camera, your sensor should be visible.
- Using the manual air blower, blow air into the camera onto the sensor while holding the camera upside down with the LCD screen facing the ceiling. Take great care to avoid touching the sensor with the blower’s tip. It is not recommended to place the blower’s tip inside the camera. Once more, avoid using compressed air.
- After a few air bursts, switch off the camera and swap out the lens. To check if the dust or dirt on the sensor has been removed, you should take another test shot (as mentioned above). If it has, nothing else needs to be done. You’ll probably need to do a “wet” clean of the sensor if it persists.
How to Wet Clean Your Sensor
After removing the lens, position the camera so that the LCD is facing the ground.
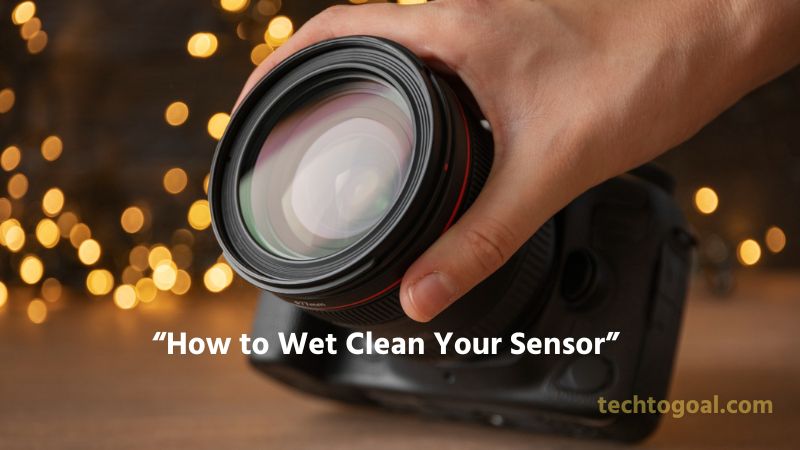
- To lock up the mirror on a DSLR, choose the manual cleaning option. On a mirrorless camera, remove the body cap or lens to reveal the sensor.
- Take out a sensor cleaning swab and blast air many times with the air blower to get rid of any strange lint particles that might have adhered to the swab.
- Fill the swab’s tip with two (or up to three) droplets of the solution. Avoid oversaturating the swab to avoid leaving streaks on the sensor. In this instance, less really is more!
- Place the swab carefully on one side of the sensor, then gently glide it across the sensor in a single, smooth motion using minimal force.
- Once you reach the opposite side, flip the swab over and begin at the far side and work your way back to the beginning. Once more, use minimal force and a single, fluid motion.
- At this point, I examine the sensor with a loupe to determine if the dust has been cleared. If in doubt, switch off the camera, swap out the lens, and take another test image to check for dust.
- You will need to repeat the procedure if you find any dust, but it’s crucial to use a fresh, clean swab. Never use the same swab twice.
- You have used too much solution if you notice streaks on the sensor. Wait a few minutes and then repeat the process with less solution. Two drops are usually enough.
- Now your sensor will be clean. Cleaning the camera’s sensor is rather easy when done correctly with the right tools.
- Using a professional cleaning service will save you the needless price and hassle of being without your camera, even though it may seem intimidating at first.
I hope this tutorial clarifies the simple process of cleaning your sensor.
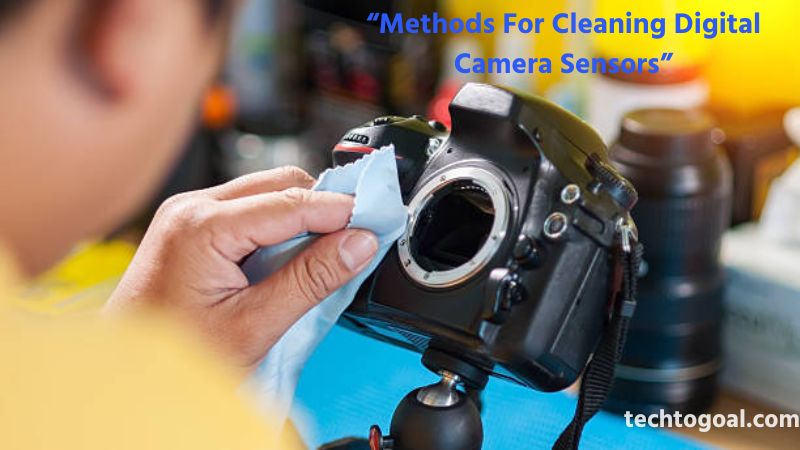
Methods For Cleaning Digital Camera Sensors
Cleaning a digital camera sensor requires the right technique to avoid scratches, streaks, or permanent damage. Depending on how dirty your sensor is, you may need different methods. Below are the four most commonly used sensor-cleaning techniques and when to use each one.
📌Read More👉Types of PoE Cameras
1. Dry Cleaning: Dry cleaning is the first and safest method to try when dealing with light dust or loose particles. Use a manual air blower (not canned air) to gently remove dust without touching the sensor. A sensor brush, designed for static-free cleaning, can also help lift off stubborn dust.
Dry cleaning is ideal for routine maintenance and should always be attempted before using any liquid-based method.
2. Wet Cleaning: Wet cleaning is recommended when you notice smudges, sticky particles, oil spots, or residue that dry cleaning cannot remove. This method uses sensor swabs and a sensor-safe cleaning solution to wipe the sensor surface gently.
Wet cleaning delivers a deeper clean but should be done carefully to avoid streaks or damage. It is the most effective method for restoring a spotless sensor when dry cleaning isn’t enough.
3. Automated Cleaning Functions: Most modern DSLR and mirrorless cameras come with built-in sensor cleaning modes. These functions vibrate or shake the sensor at high speeds to loosen and remove dust.
Automated cleaning is quick, safe, and convenient, making it useful for regular upkeep. While not as thorough as manual methods, it helps prevent dust buildup and reduces the need for frequent deep cleaning.
4. Professional Cleaning Services: If you’re uncomfortable cleaning the sensor yourself or if the dust particles seem stubborn, it’s best to rely on a professional. Camera repair shops and authorized service centers offer expert cleaning using specialized tools.
This method ensures maximum safety and effectiveness, especially for expensive or sensitive camera equipment. Professional cleaning is the safest option if your sensor has severe contamination or if you’re new to sensor maintenance.
By understanding these four cleaning methods—dry, wet, automated, and professional—you can choose the safest and most effective approach for keeping your camera sensor spotless and ensuring consistently sharp, high-quality photos.
Bonus Tips: How to Detect Sensor Dust on Your Camera Sensor
With the help of these extra pointers, you can efficiently ascertain whether your camera sensor is dusty, enabling you to conduct the necessary maintenance and cleaning steps.
- Set a Narrow Lens Aperture: When taking a picture, choose a narrow aperture setting (higher f-number), such as f/16 or higher, to see if there are any dust particles on the sensor.
- Capture a Blank Picture: Take a photo of a plain, uniformly lighted surface, such as a clean blue sky or a white wall. This will facilitate the detection of any dust particles on the sensor.
- Review Image on PC/Monitor: Examine the taken image on a large monitor at 100% zoom after transferring it to a computer. This enables careful examination to notice any obvious artifacts or dust patches.
- Use a Sensor Loupe: Make use of a sensor loupe, a specific amplifying tool used in enlightenment that is supposed to view the sensor surface. A sensor loupe provides a close-up view of the sensor while accounting for easier identification and residual particle area.
FAQs
What is the best way to clean a camera sensor?
Avoid using reusable microfiber fibers while cleaning a camera sensor; instead, use disposable cushions or wipes. Additionally, using a blower for sensitive cleaning
Is it safe to clean my camera sensor?
Wet cleaning and sensor brushing/sweeping are safe ways to clean your camera sensor, but you must be careful and precise to prevent damage.
Can I clean a camera sensor without a kit?
Without a kit, you may effectively maintain a camera sensor by using a clean microfiber cloth and specialized cleaning fluid.
How often should I clean my camera sensor?
It depends on how frequently you shoot and your environment. If you notice dust spots in your photos or change lenses often, a light cleaning every few weeks or months is recommended.
How do I know if my camera sensor is dirty?
A dirty sensor usually shows small dark spots or smudges in photos, especially visible when shooting plain backgrounds like the sky at a high f-stop (f/16–f/22).
What tools do I need to clean my camera sensor safely?
A hand air blower, sensor swabs (correct size), sensor cleaning solution, and a bright light source are the most essential tools.
Conclusion
At first, cleaning your camera sensor might seem like a difficult operation, but with perseverance, the correct equipment, and a steady hand, it can become a manageable and even enjoyable part of your shooting routine.
A photographer needs to take care of their equipment, much like a painter cleans his brushes. Each dust-free photo you take will serve as a reminder of the care and devotion you put into your work.